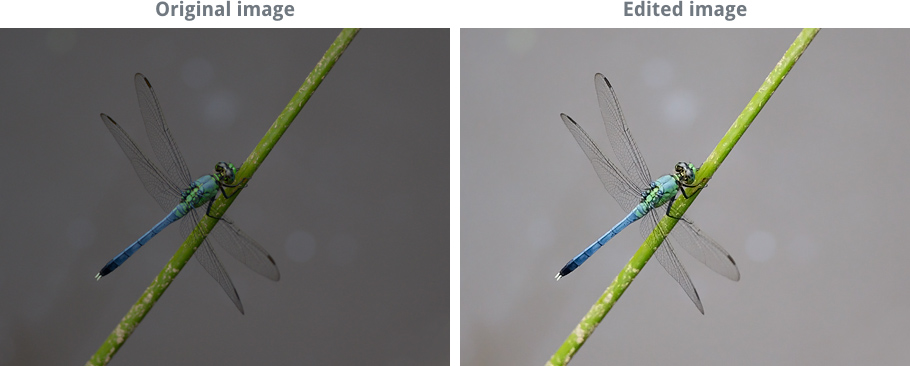
Introduction
Image editing is all about adjusting your images to make them look better. We’re going to talk about some of the most basic image adjustments, along with some common problems to watch out for when making these changes. The adjustments we’ll cover in this lesson include:
- Cropping: If you want to remove parts of an image, you can crop it. You can think of cropping as using a pair of scissors to cut out the parts you no longer want.
- Resizing: If you want to make an image smaller or larger, you can resize it. However, keep in mind that making an image larger than its original size generally does not look good.
- Rotating: If you want to change the orientation of an image, you can rotate it to the left or right.
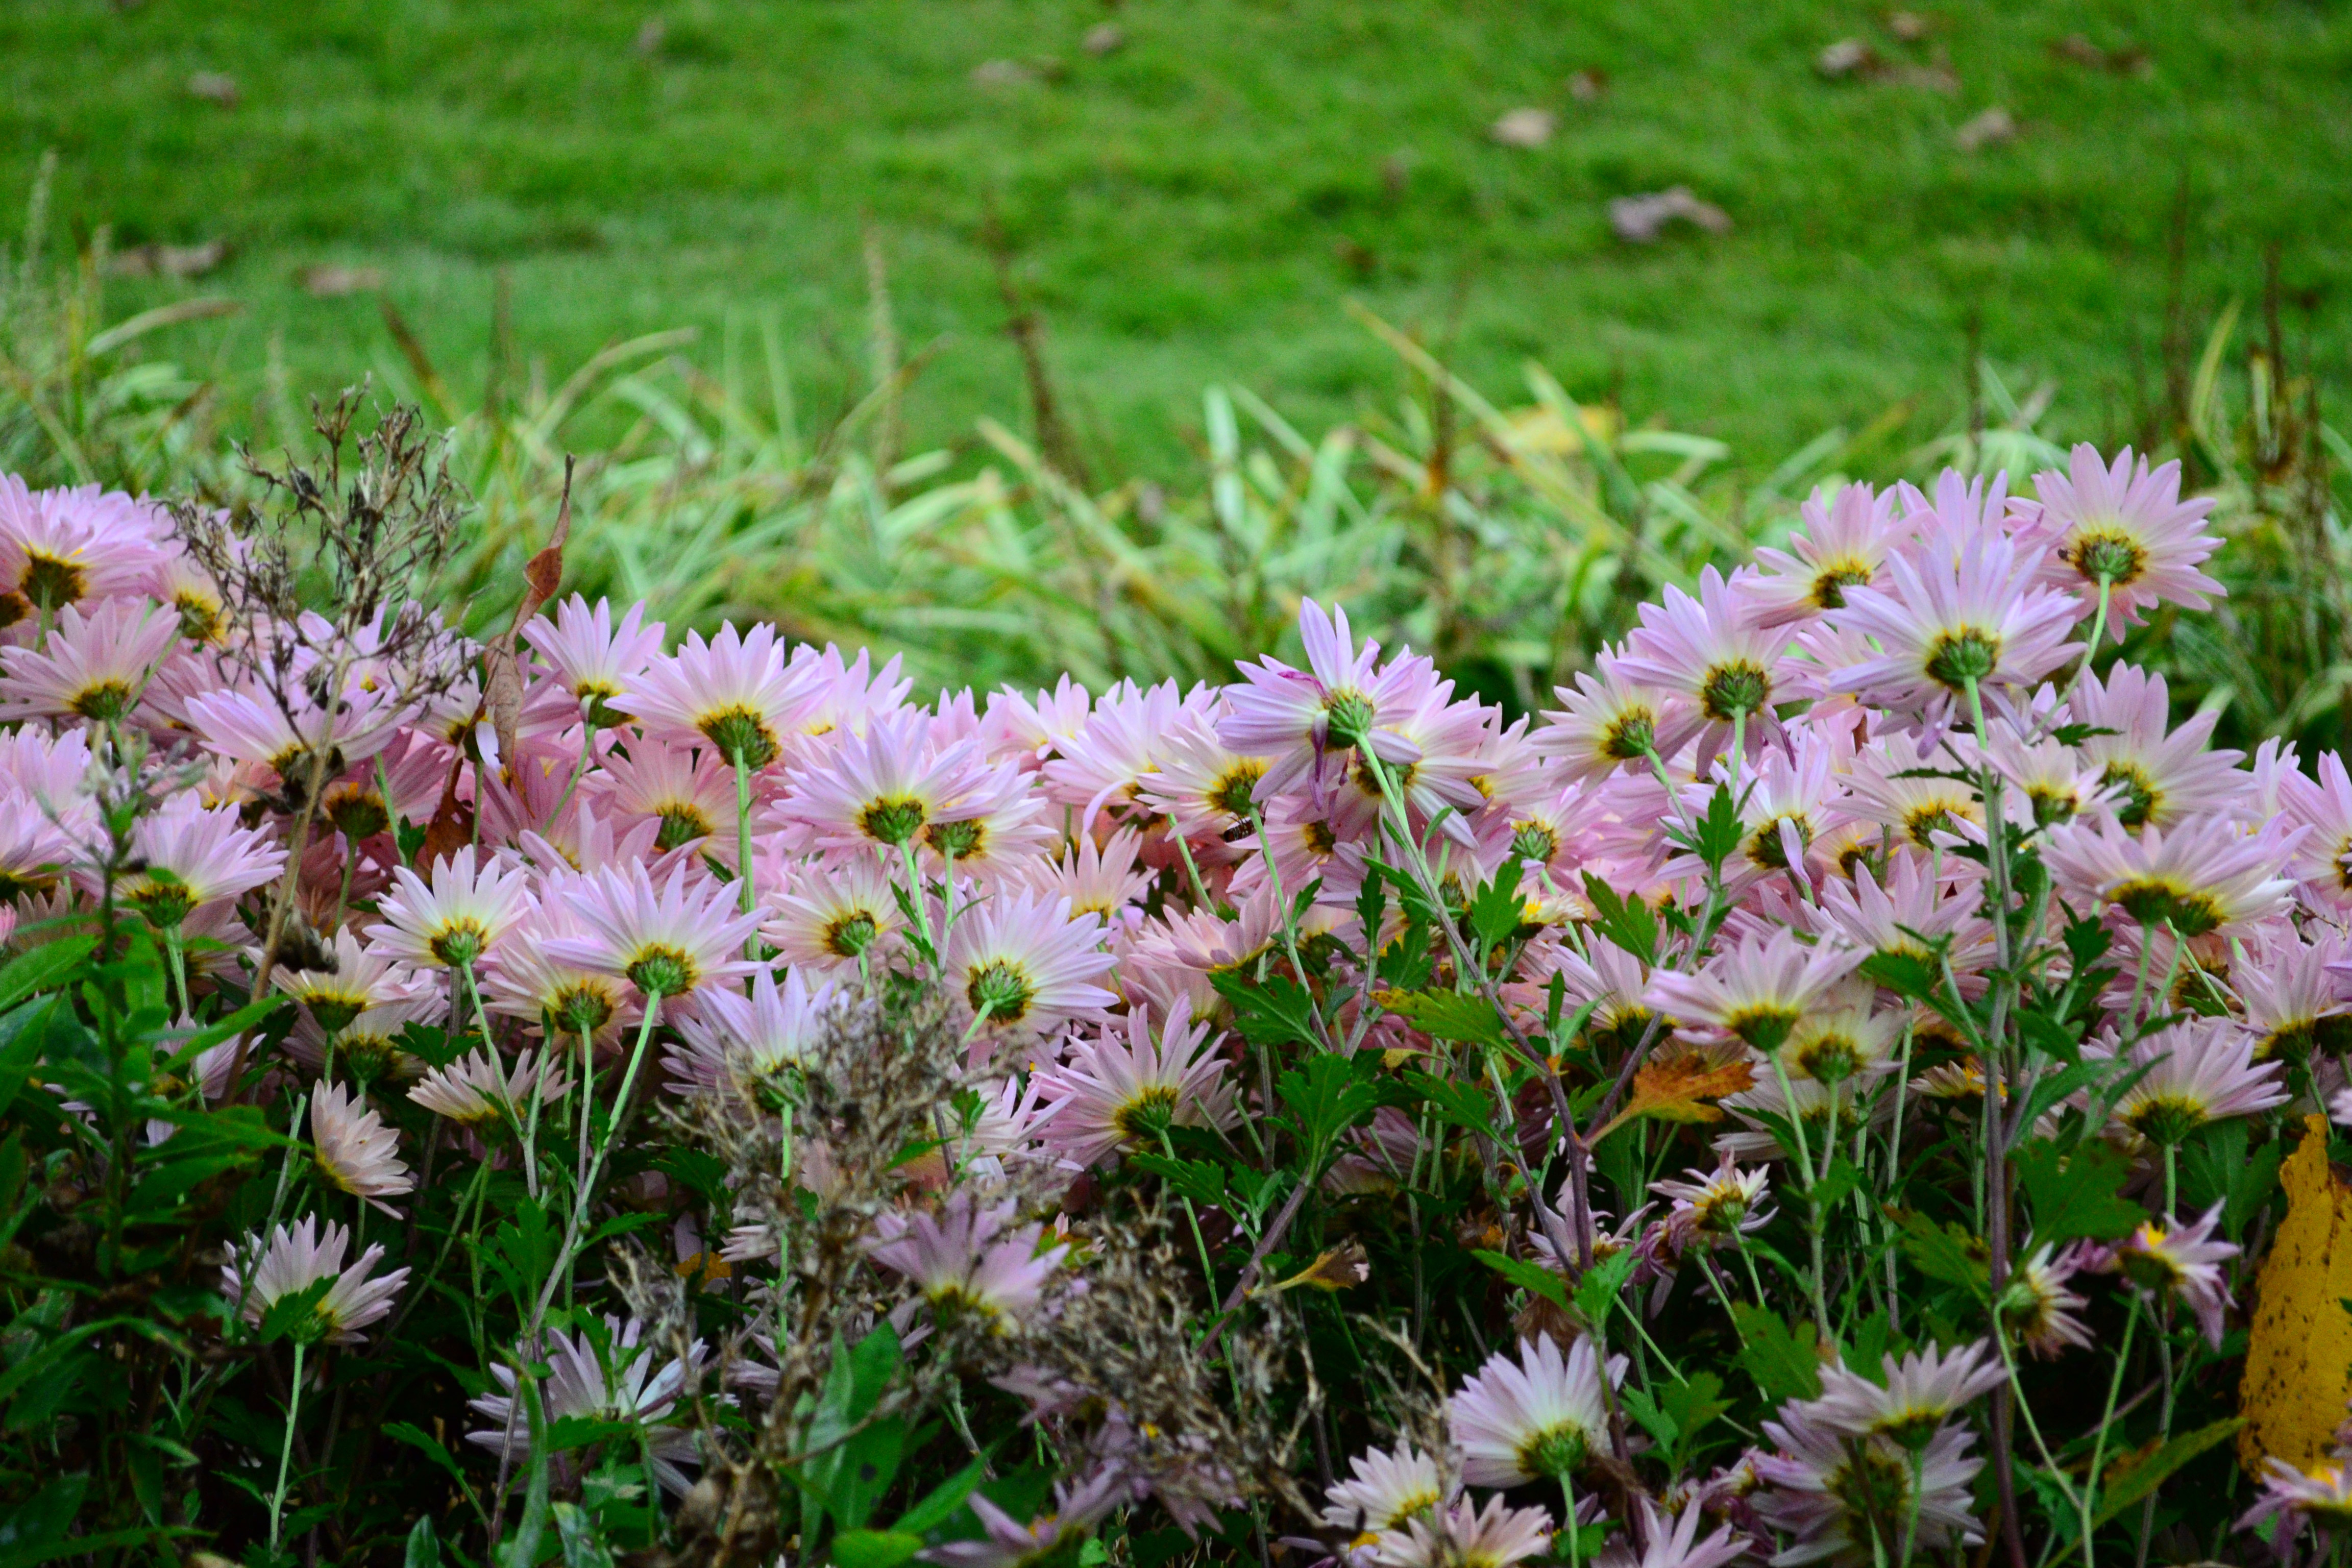
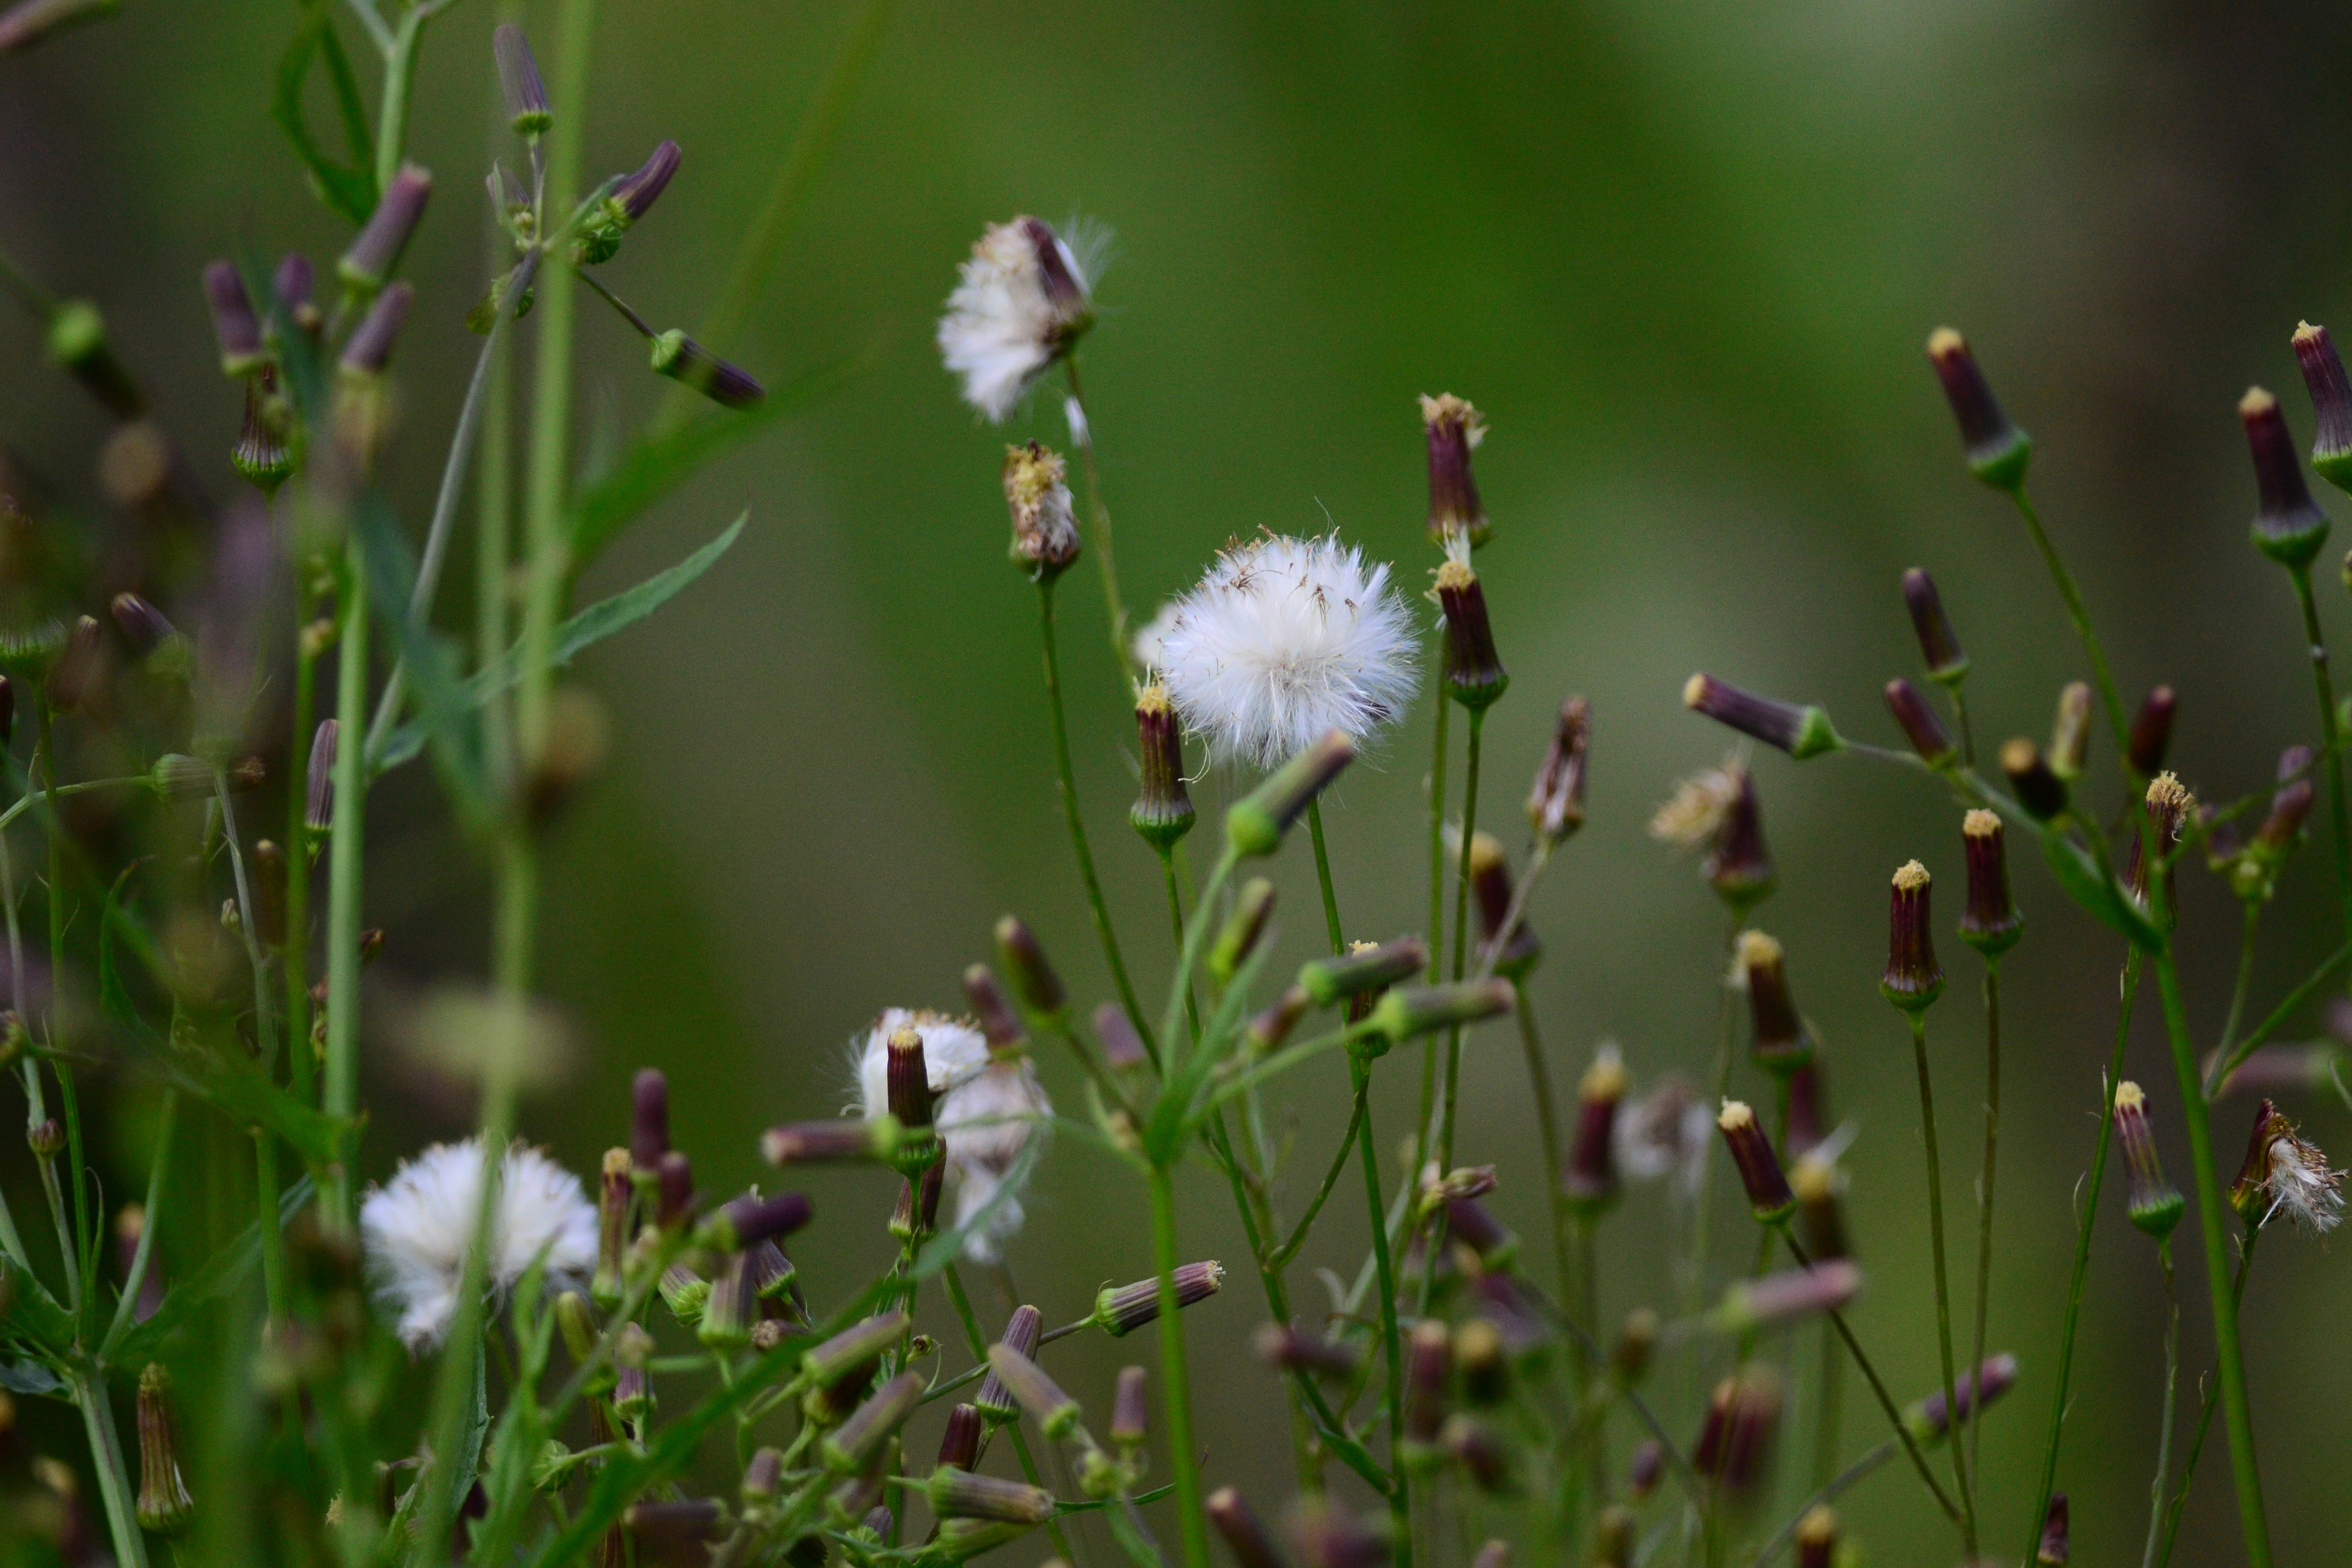
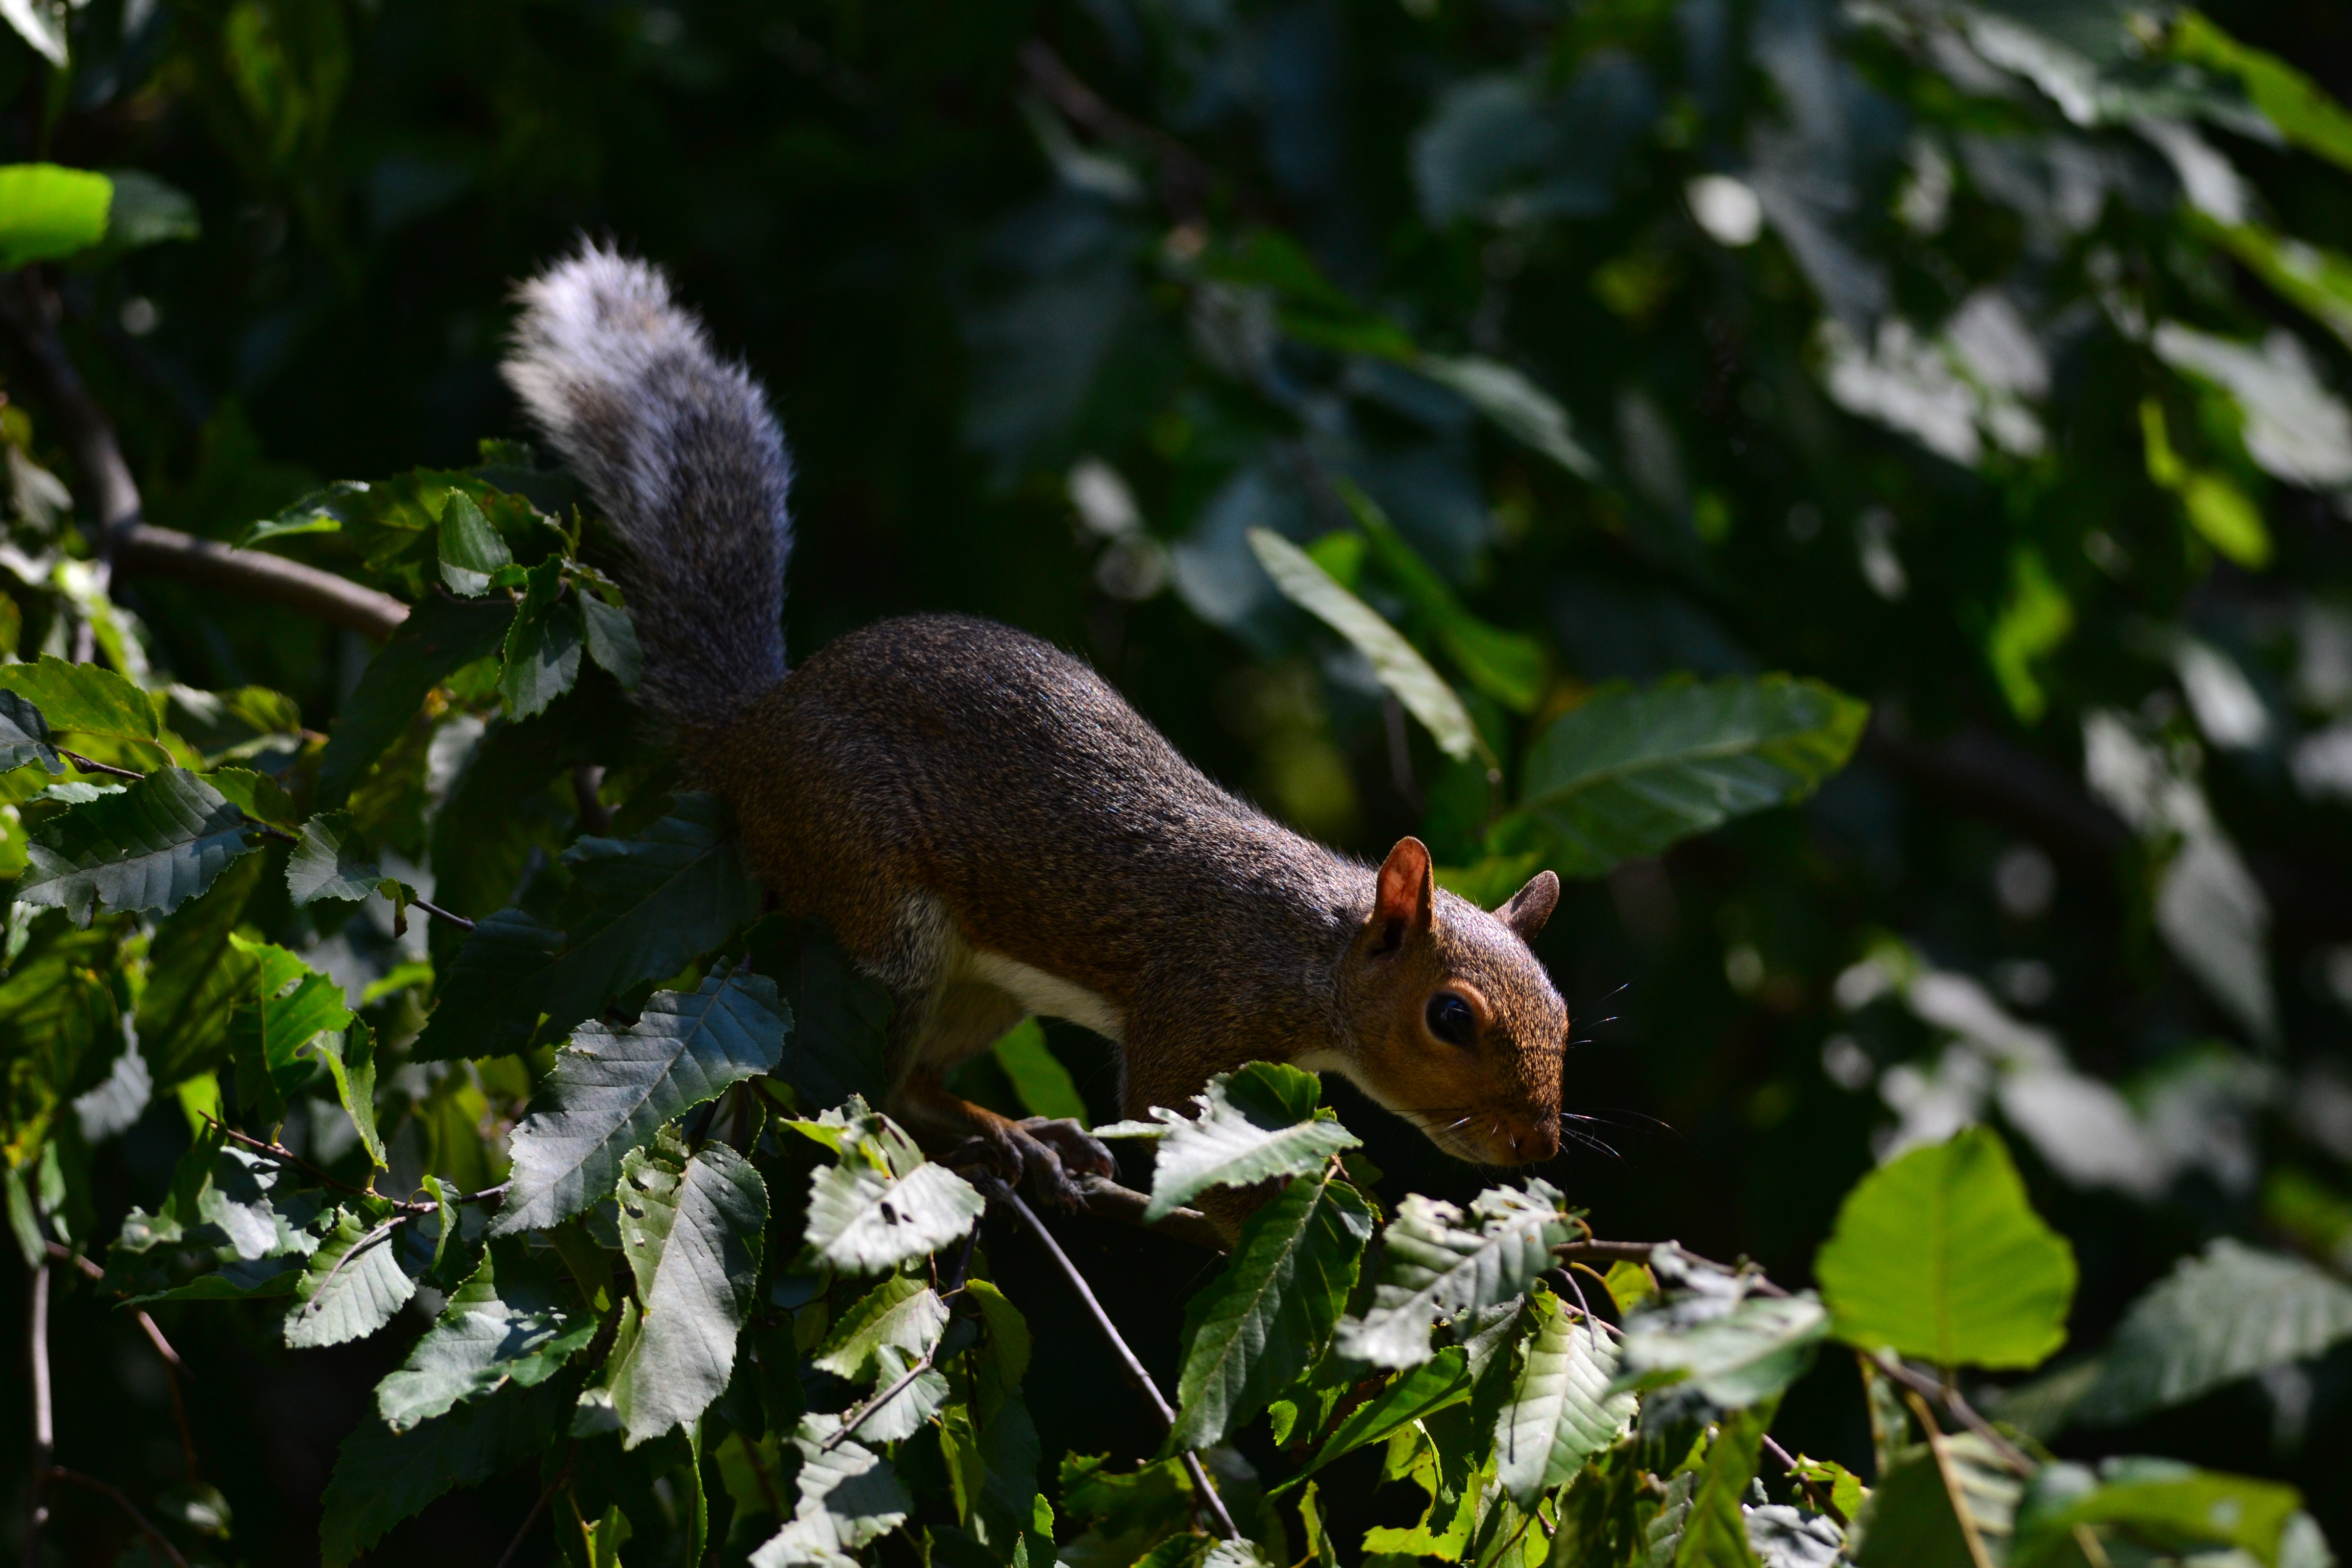
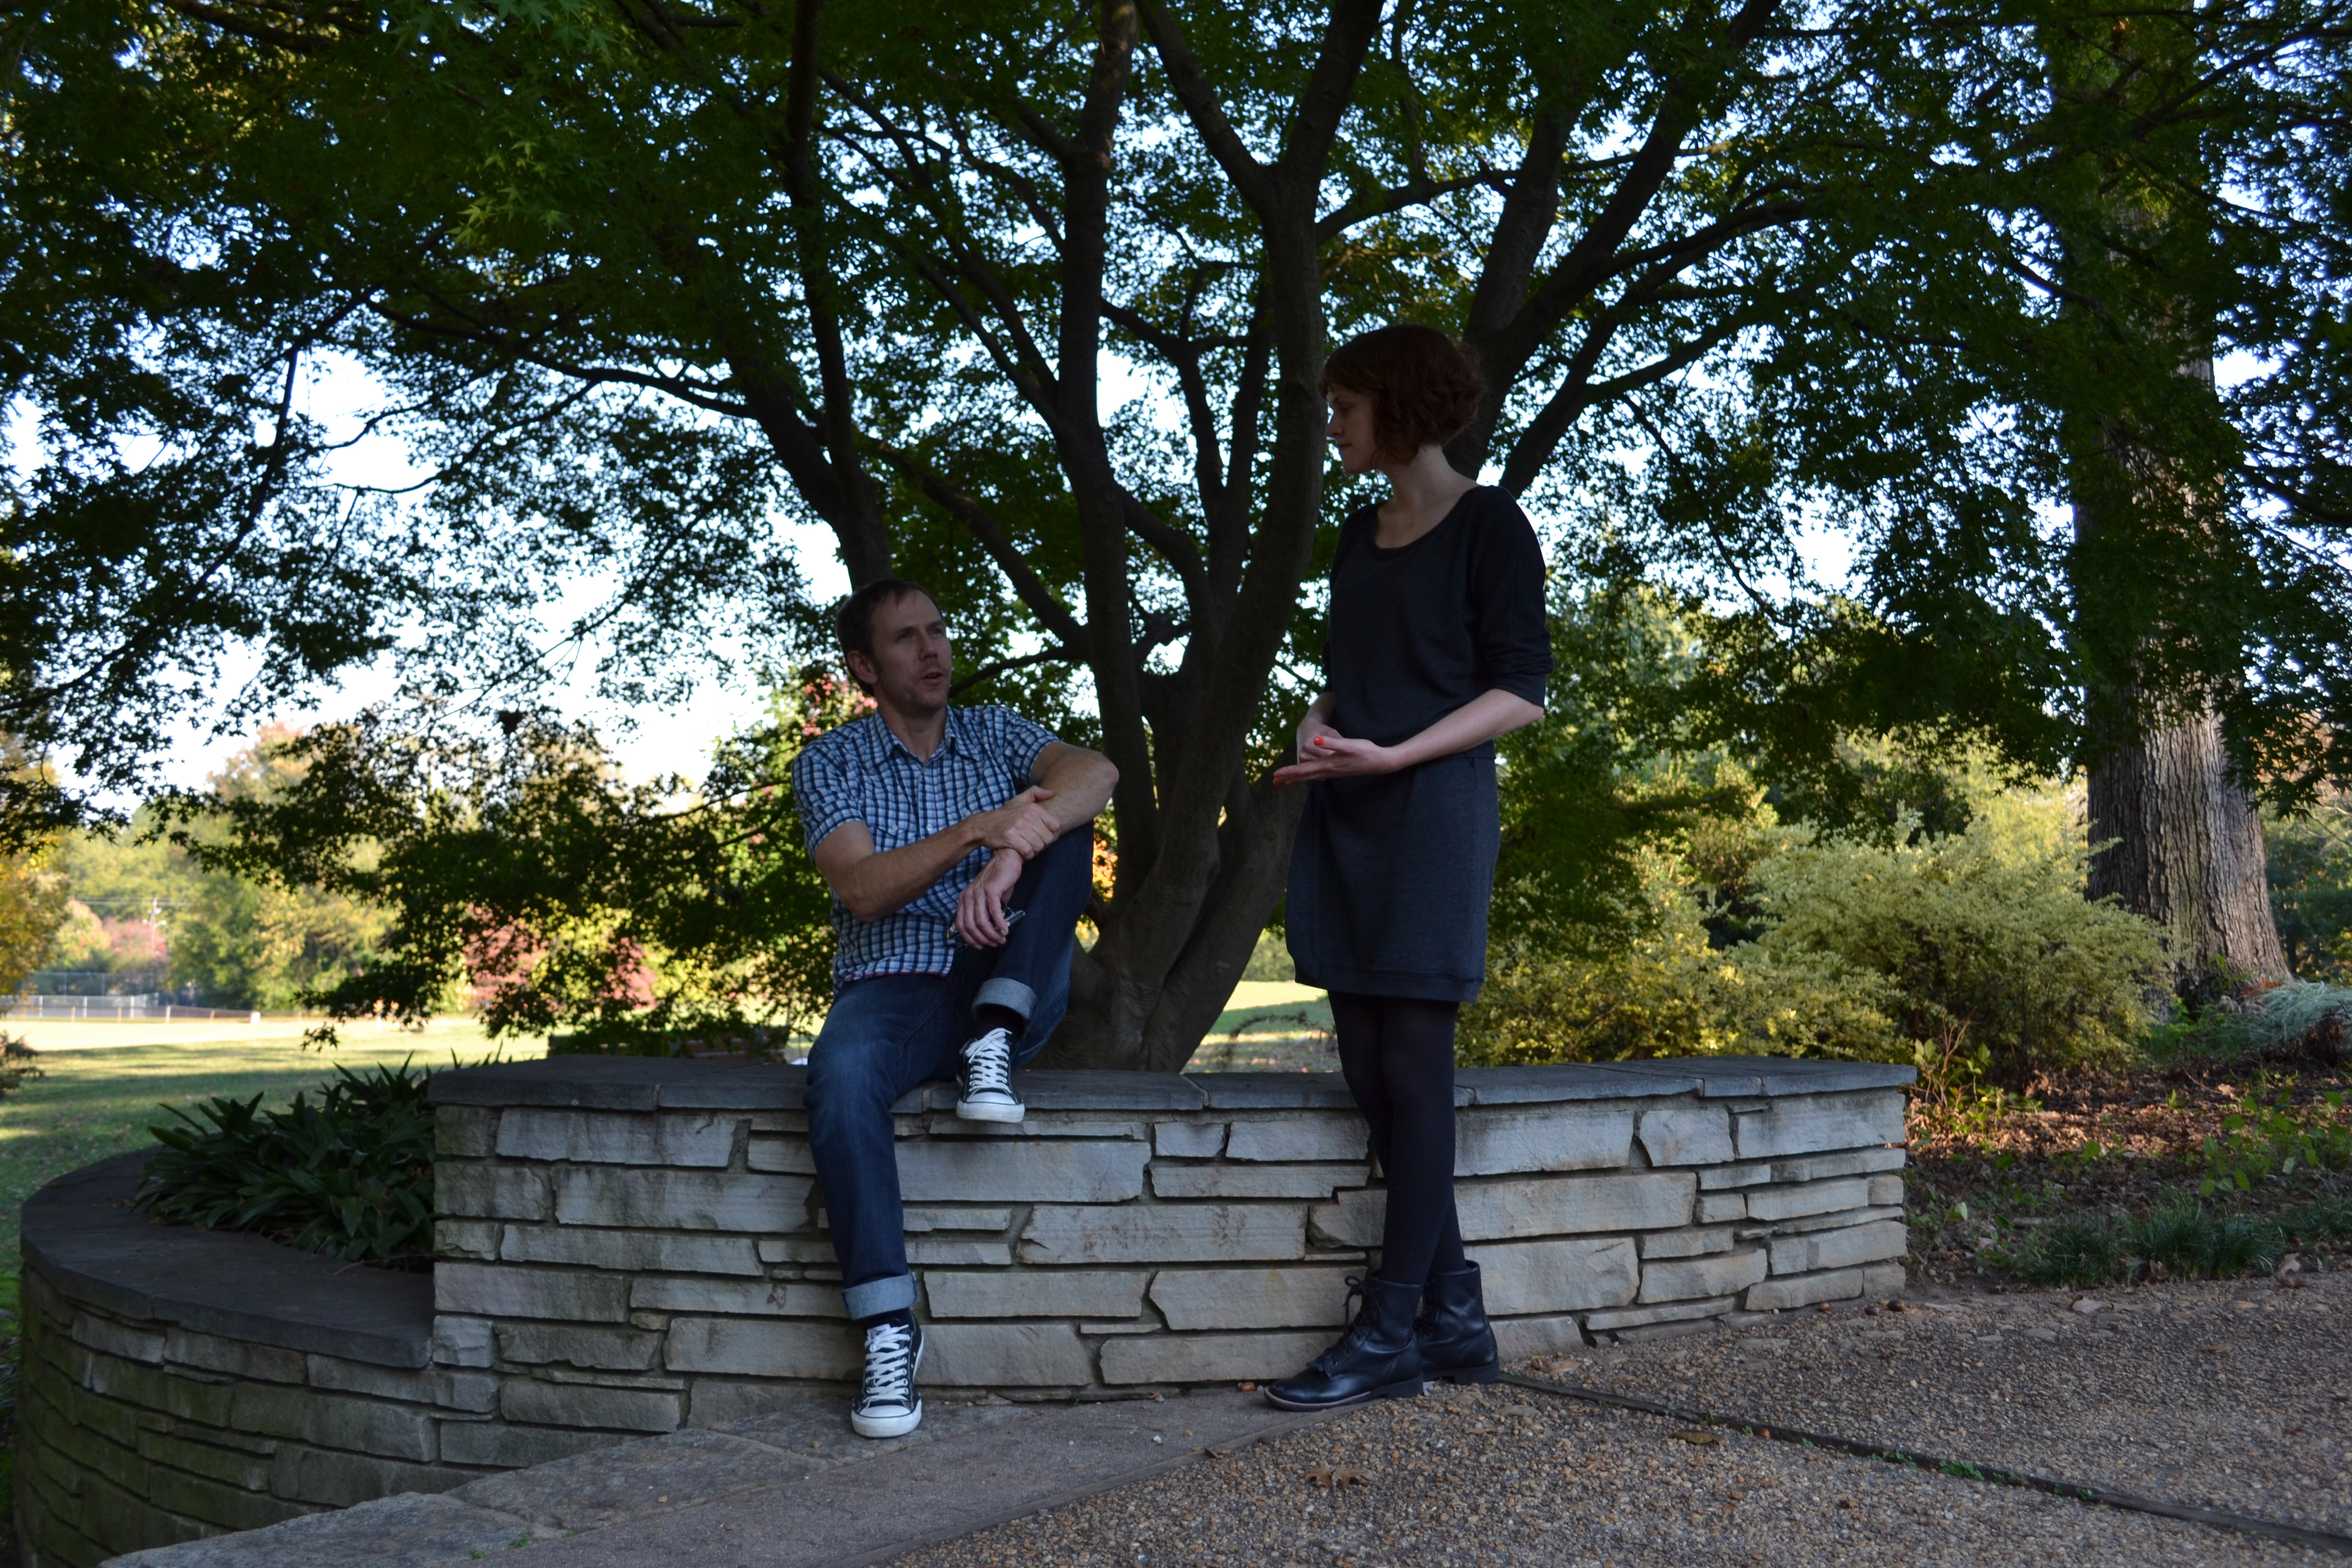
- Optional: If you’d like to follow along, you can download some or all of our example images. Just click any of the images below to open a full-sized version. Then right-click the full-sized version and select Save Image As to save it to your computer.
About this lesson
Throughout this lesson, we’ll show you how to make these adjustments with
Pixlr Express, a
free, web-based image editor you can use from almost any computer with an Internet connection. If you’re using a mobile device, you can use the free
Pixlr Express mobile app.
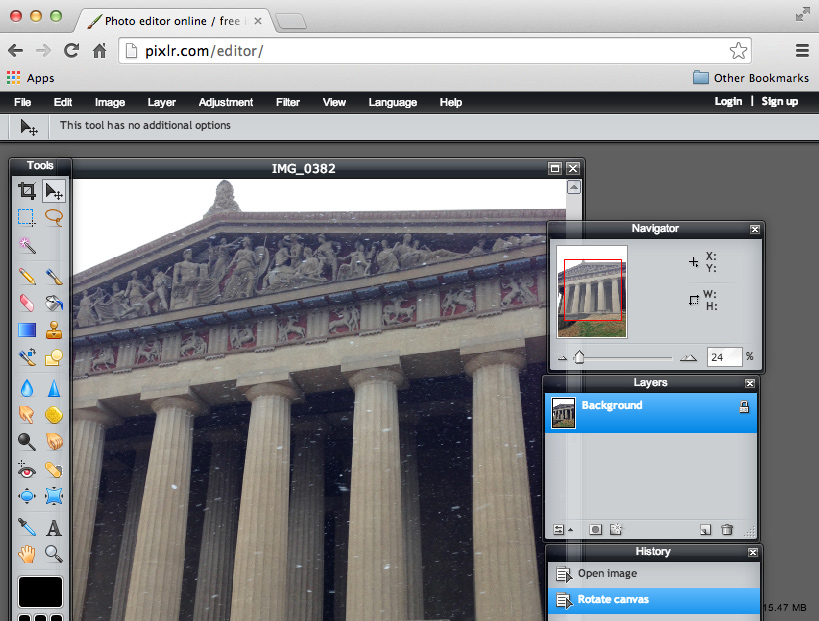
If you have a different image editing program, you can still follow along—these features will work roughly the same way for most image editors.
Image editing tips
Here are a few important things to keep in mind as you start working with images. If you’re new to image editting.
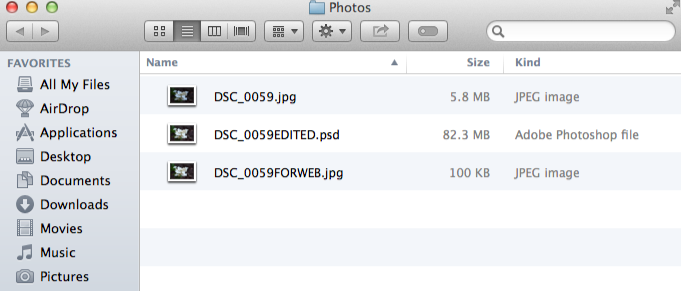
Keep your originals: If you’re planning to make even basic changes to an image, you should also keep an original, unedited version of the file. We recommend making a habit of doing this whenever you’re working with image files. This way, you’ll always be able to go back to the original version.
Check the zoom level: When you’re editing an image on a computer, you’ll usually be viewing it at less than 100% of its full size. This is because most modern digital cameras take large, high-resolution images. These images are so large, in fact, that most computer screens can’t display all of the pixels in the image at once. This is actually a good thing, because it means you’ll have extra detail to work with as you edit the image.
Higher resolution = more detail: Whenever you crop or resize an image, you’re also removing pixels from the image. This means you’ll have fewer pixels to work with, which will give you less flexibility. For example, if you want to print a photo, having extra pixels will help to make the photo look as sharp as possible (since photo prints have a higher resolution than most computer screens). Or, if you’re creating a desktop background, you’ll want to ensure that the final size is at least as large as your screen resolution.
Experiment: There’s no perfect formula for editing images. As long as you keep a copy of the original file, you should feel free to try out different adjustments to find what works for that image. If you change your mind later on, you can always go back to the original version and start over.
Cropping images
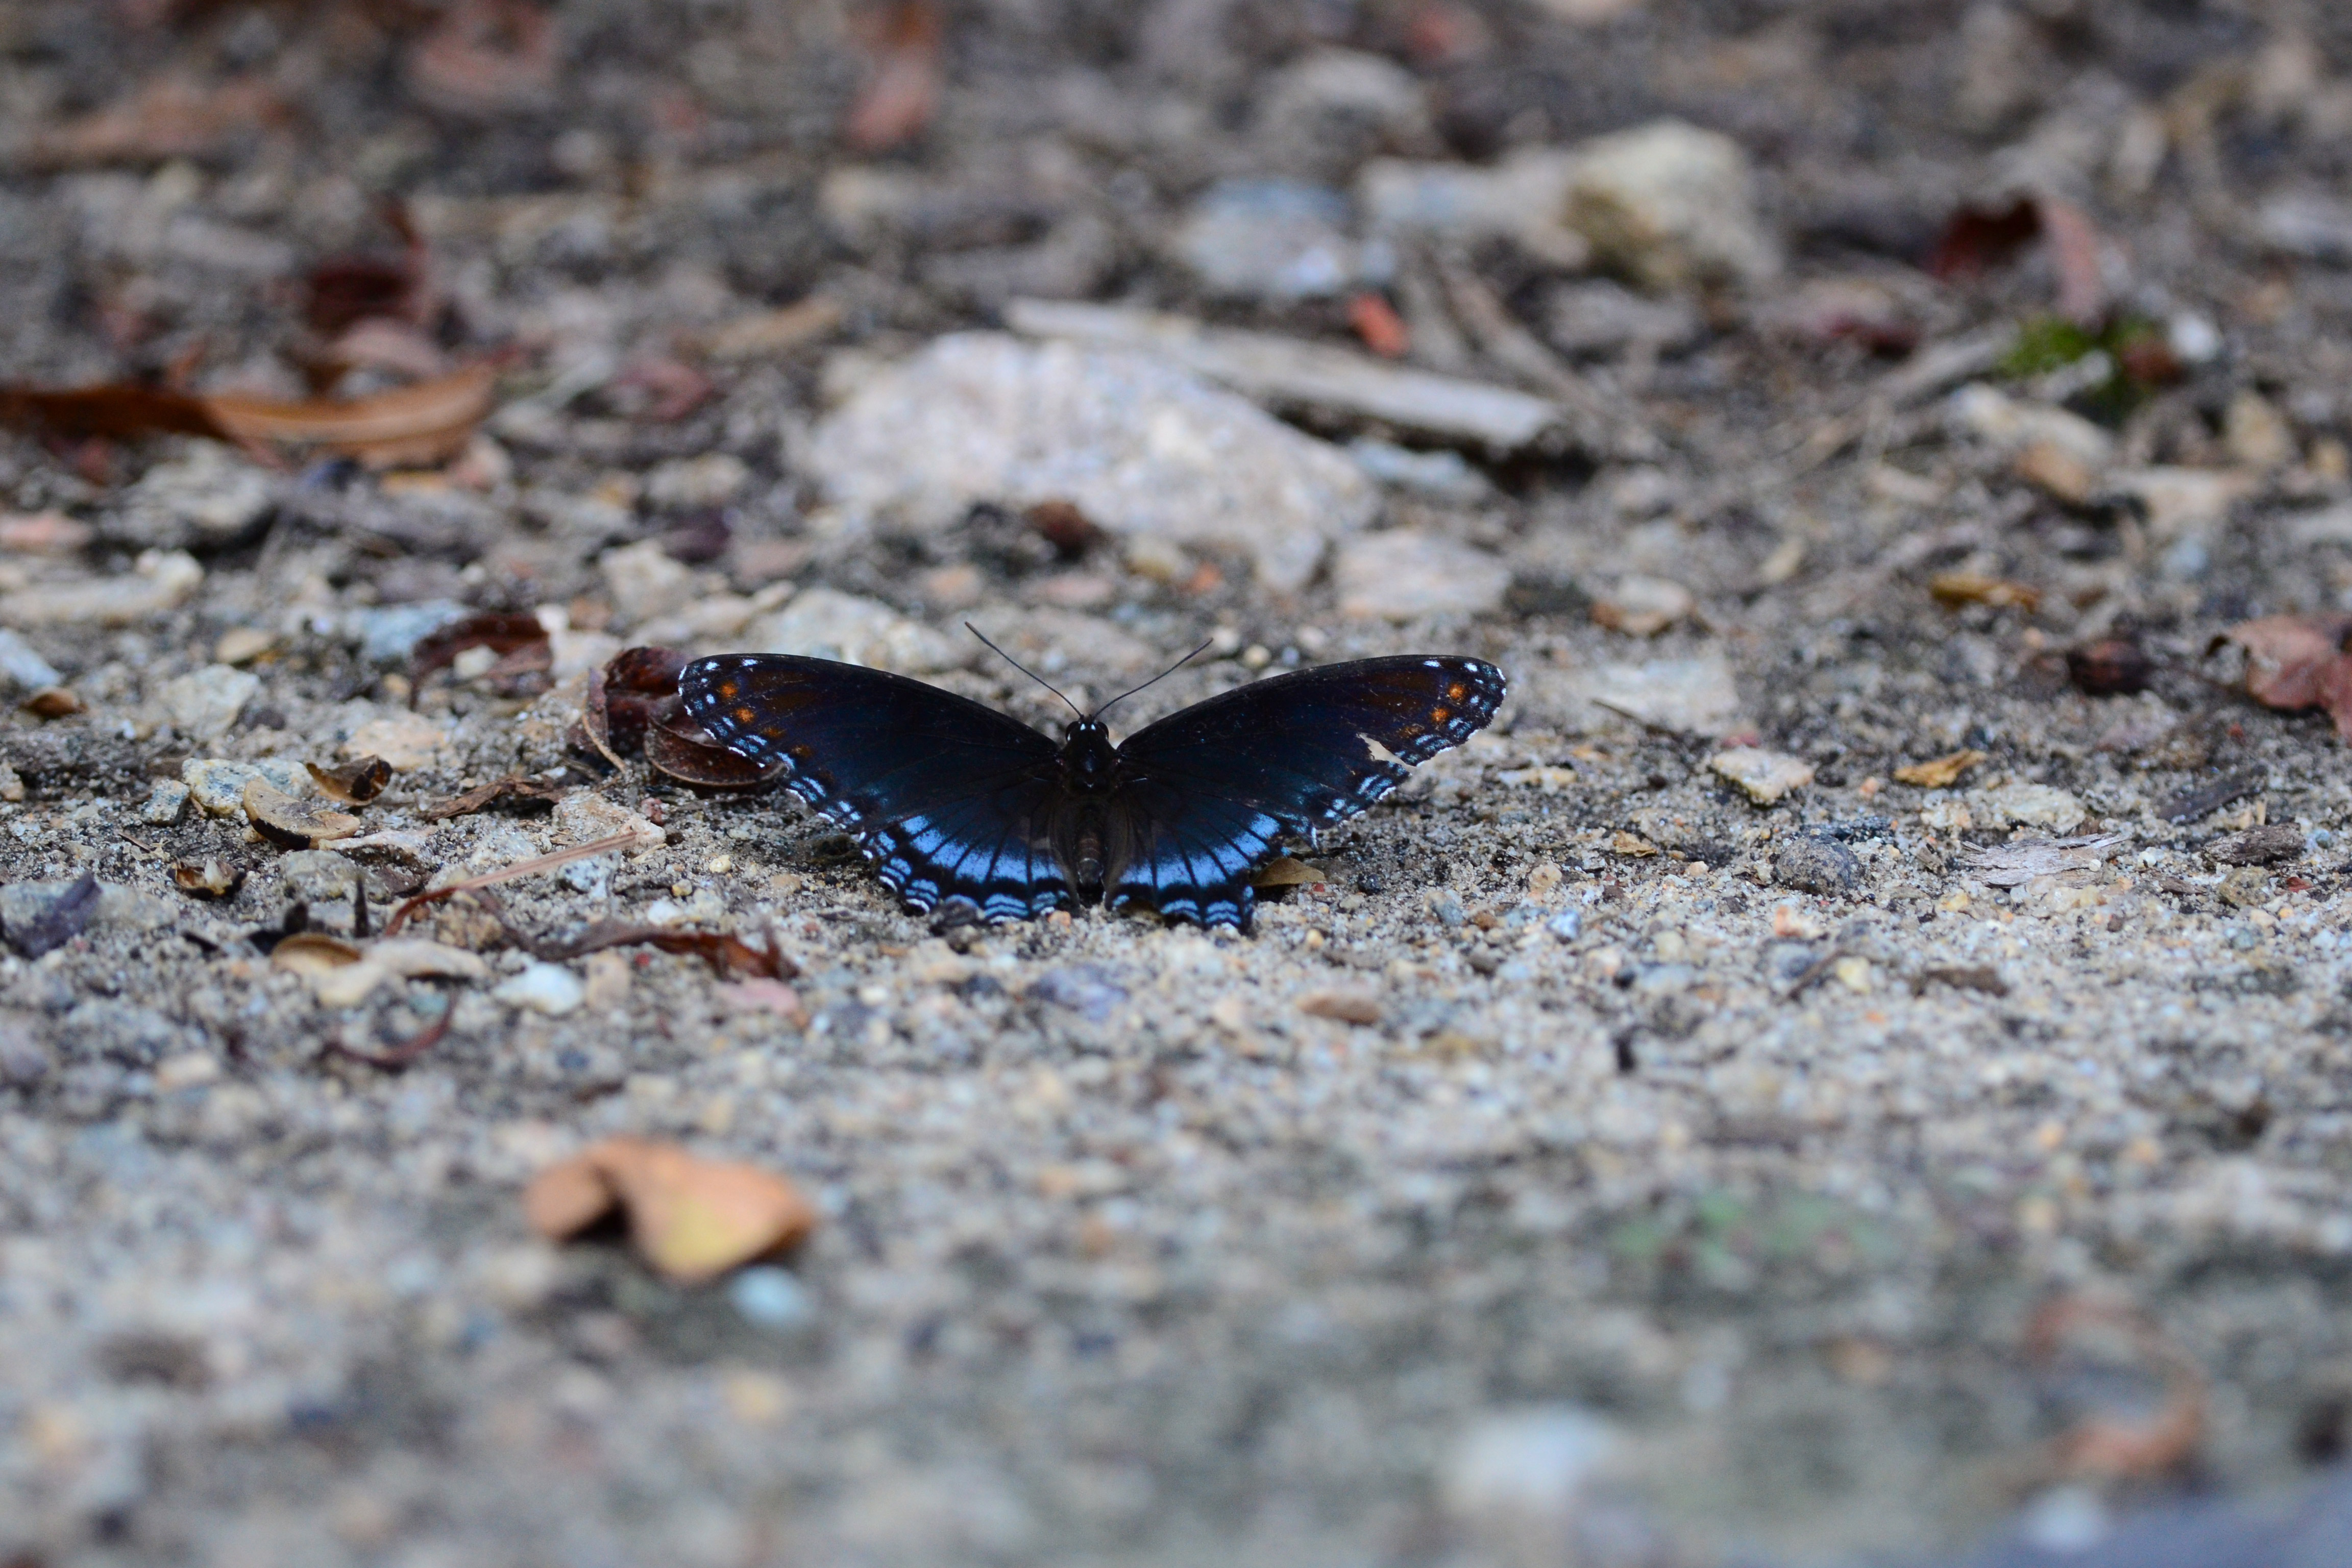
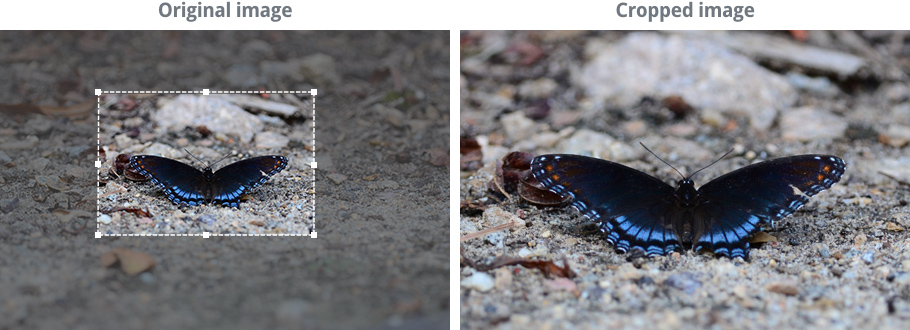
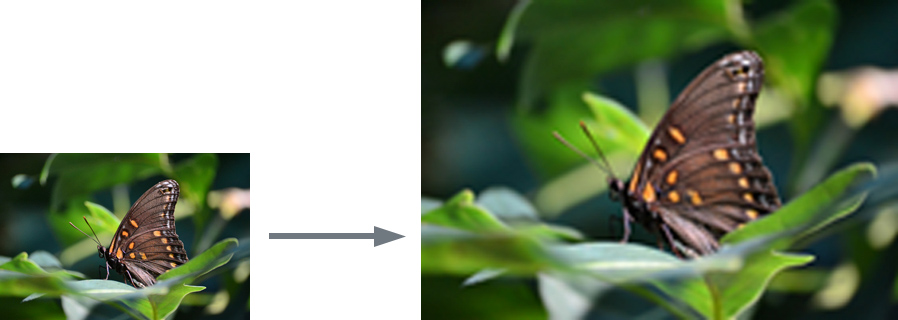
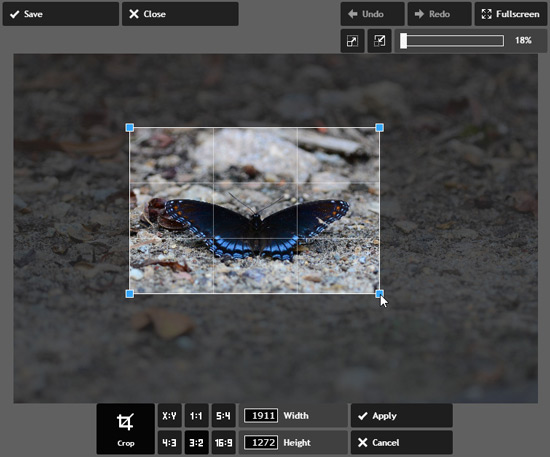
There will often be times when an image includes a lot of extra space or content you’d like to remove. You can solve this problem by cropping the image. In the example below, we cropped the image to show less of the background and emphasize the butterfly:
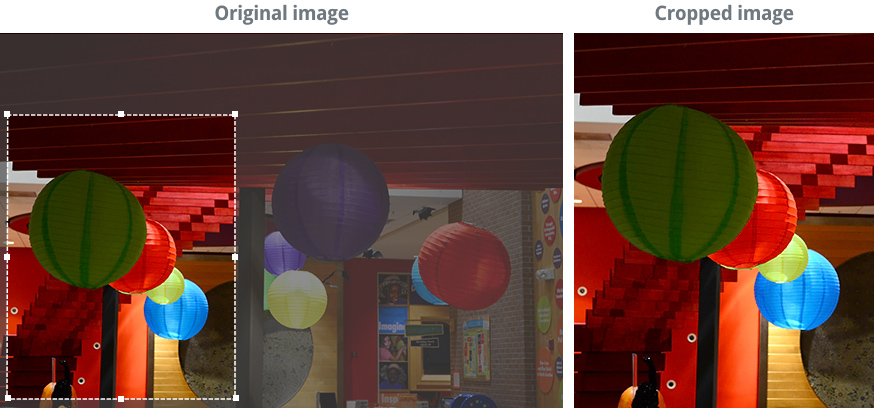
You can also use cropping to completely change the composition or subject of an image. In the example below, we focused in on just one part of the image—the lanterns on the left—and cropped out everything else. You may have also noticed that by cropping this way, we changed the image’s orientation from landscape to portrait.
To crop an image:
Remember, we’ll be using Pixlr Express throughout this lesson, so this process may vary depending on the software you’re using.
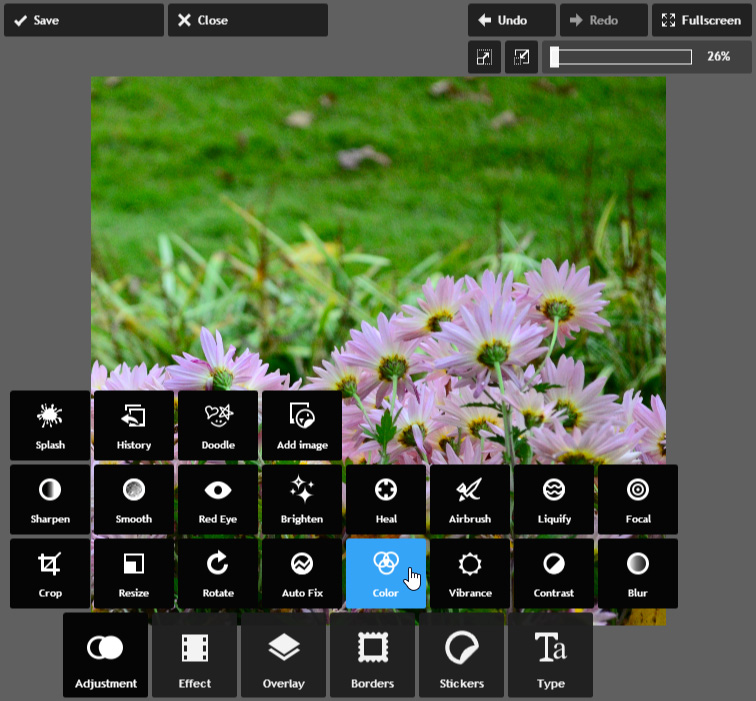
- Go to Pixlr Express in your web browser, then click Browse to open the image from your computer.
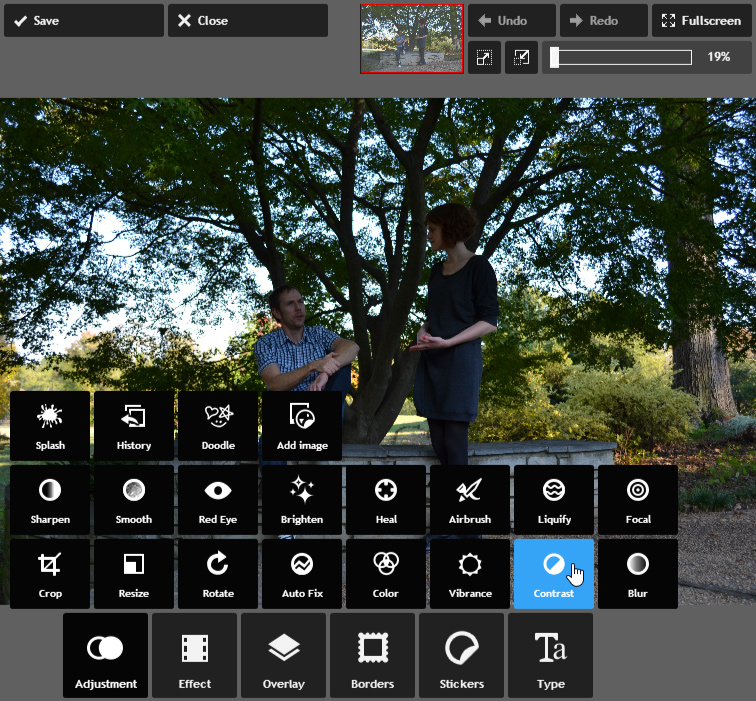
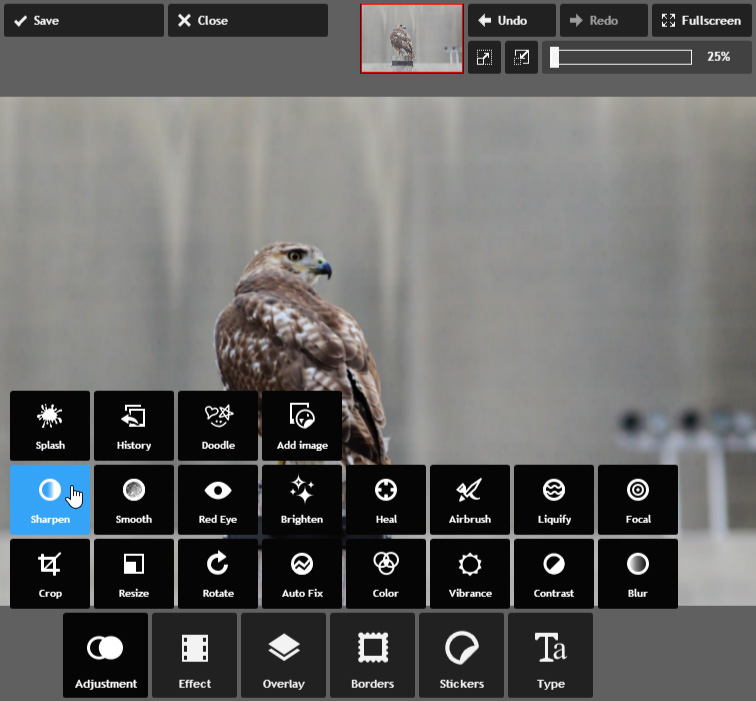
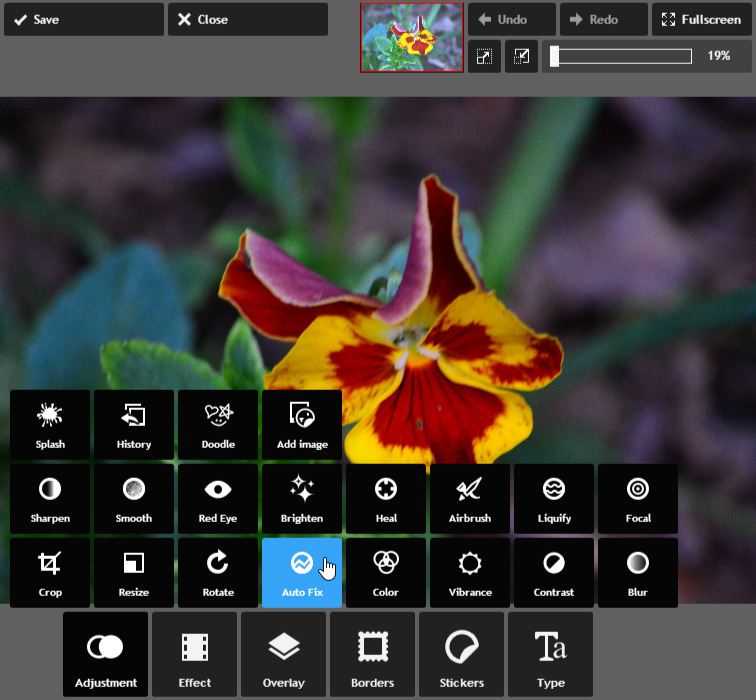
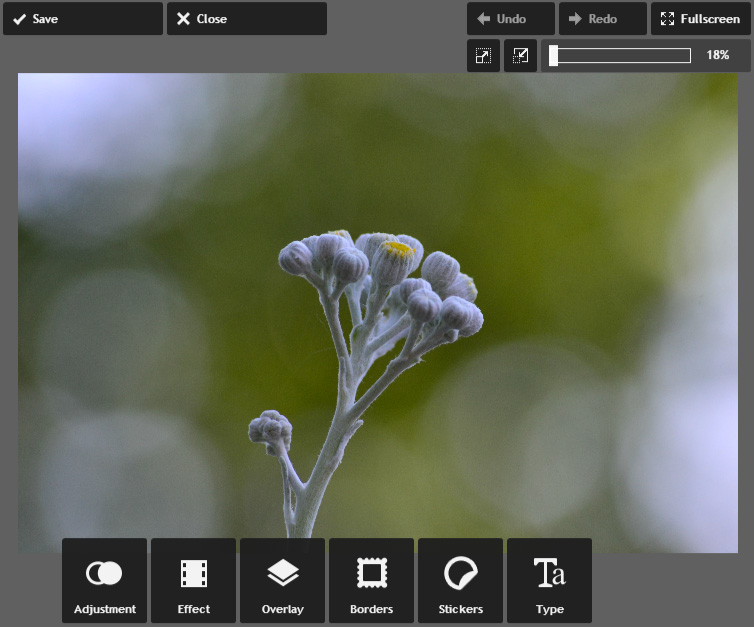
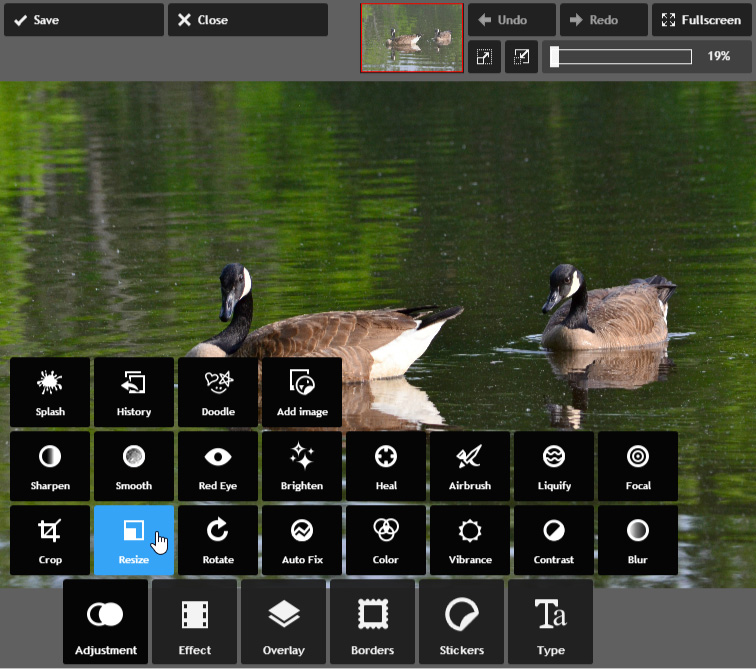
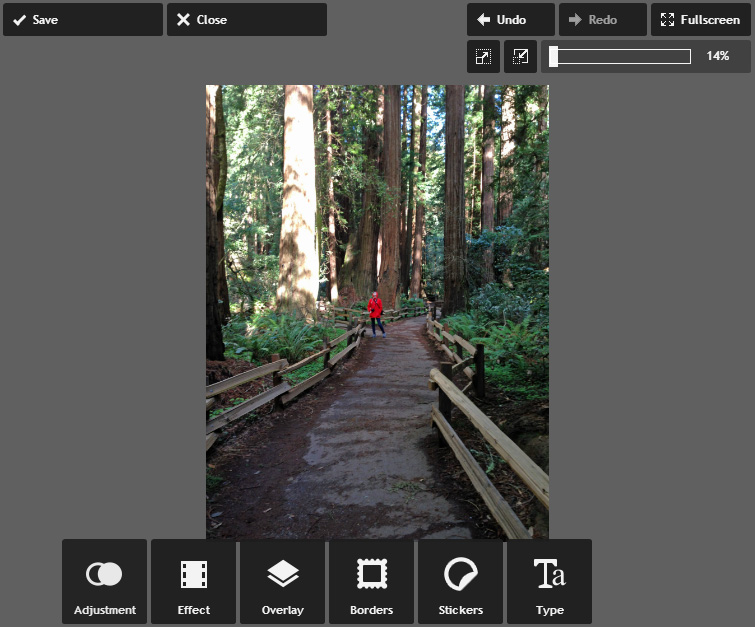
- Click the Adjustment button, then click Crop.
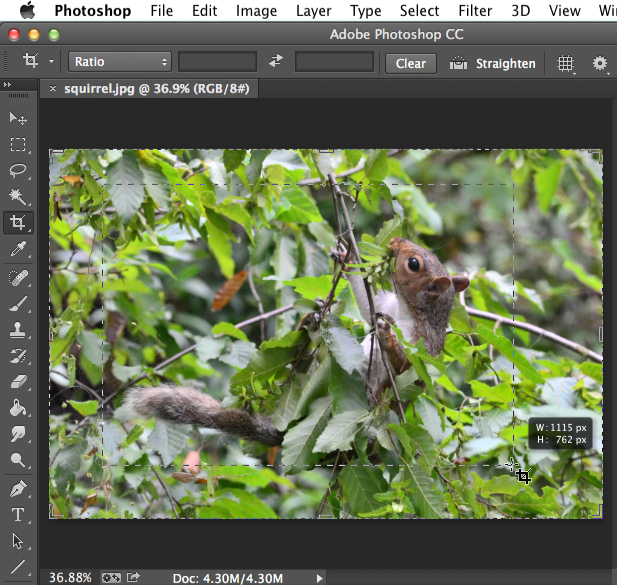
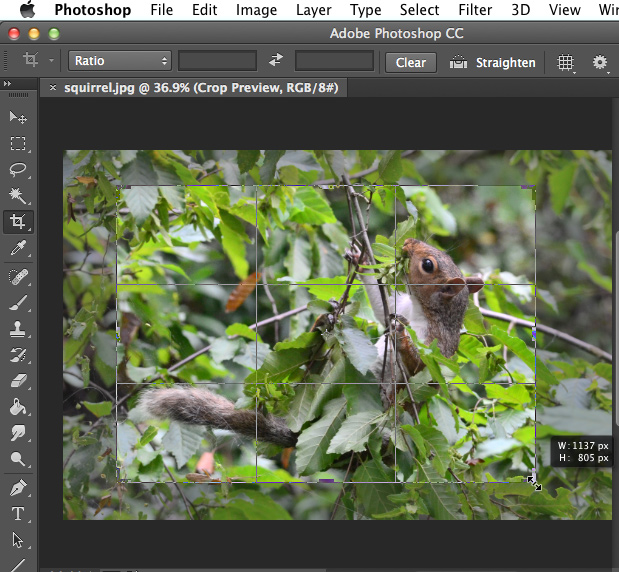
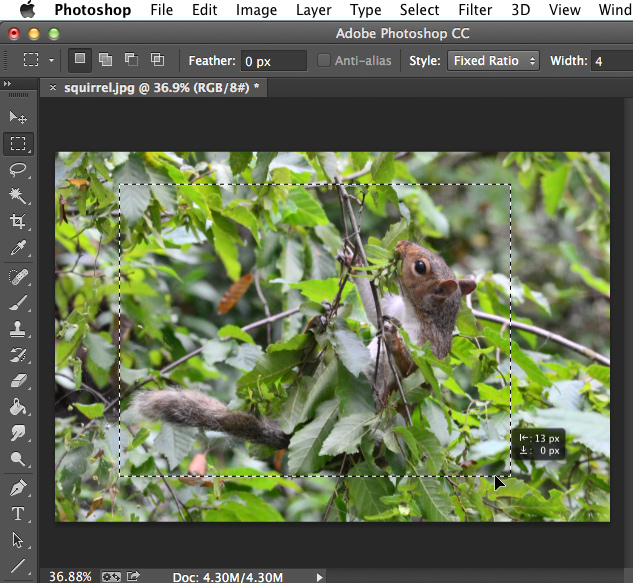
- Click and drag the cropping handlesuntil only the part of the image you want to keep remains visible. You can choose one of the predefined aspect ratios—for example, 4:3 or 3:2—from the menu at the bottom to change the shape of the crop window.
- Click Apply. The image will be cropped.
- If desired, click the Save button to save this new version of the image.
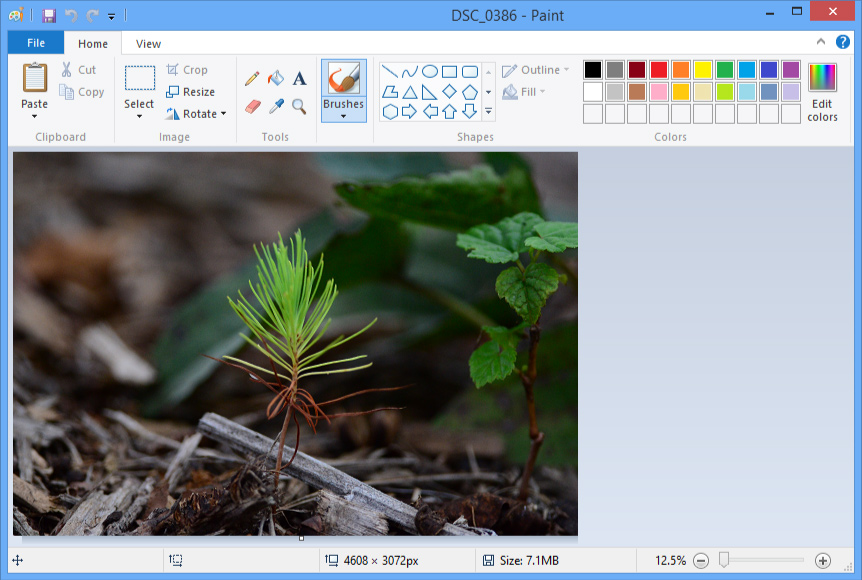
- In some applications, such as Microsoft Paint, you may need to select the part of the image you wish to keep before clicking Crop.
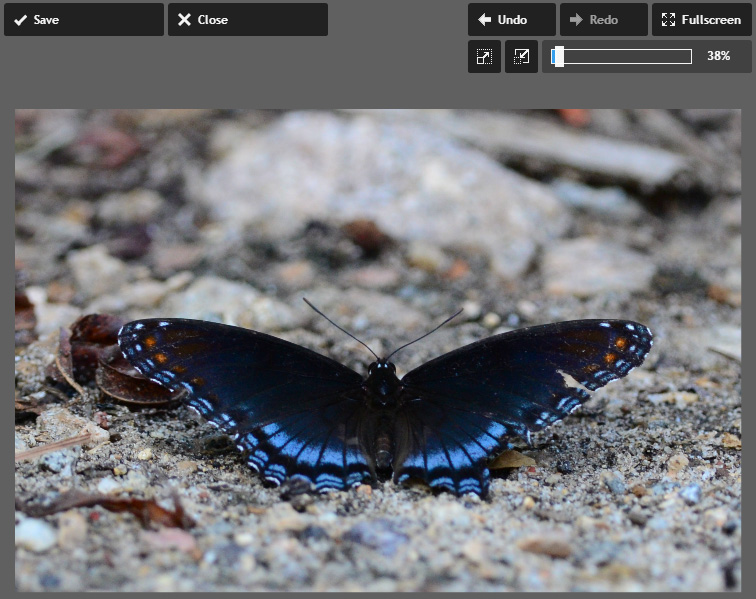
In the example above, locate the zoom level in the top-right corner. You’ll see that in step 2 we were viewing the image at 18% of its actual size, and in step 4 we zoomed in to 38%. That’s because our image has a high resolution, which allows us to zoom in (up to 100%) without losing detail. High-resolution images will give you more flexibility to crop and resize the image without reducing the quality.
Remember, cropping will remove pixels from an image, so you’ll always need to make sure the cropped version is still large enough for your needs. If you want to print the image or display it at a large size, you’ll generally need more resolution.
Resizing images
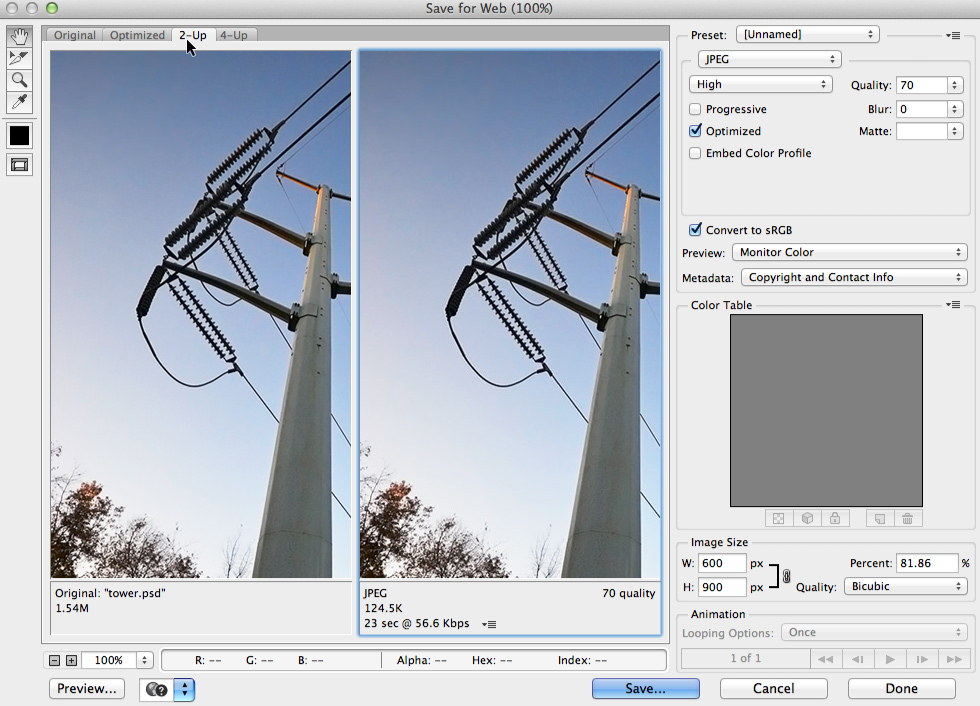
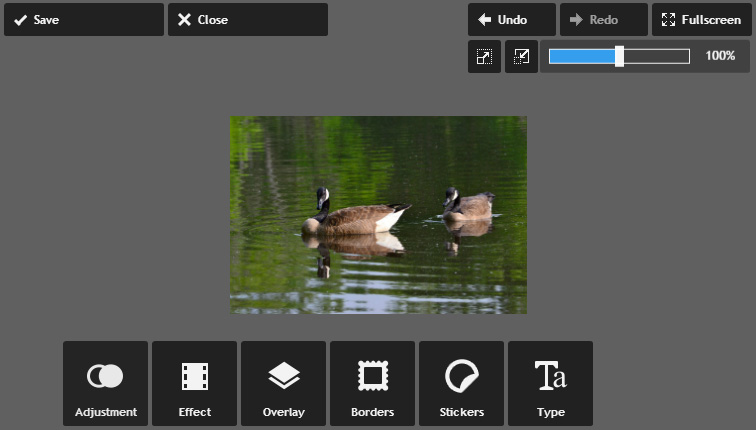
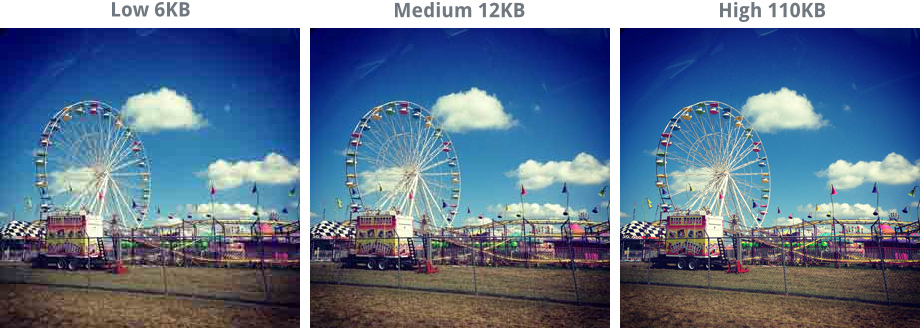
Because digital images can be displayed at different sizes, you probably won’t need to resize your images most of the time. However, resizing is an easy way to reduce the file size of an image, which can be helpful if you want to send an image as an email attachment or upload it to the web. You can see an example of resizing below:
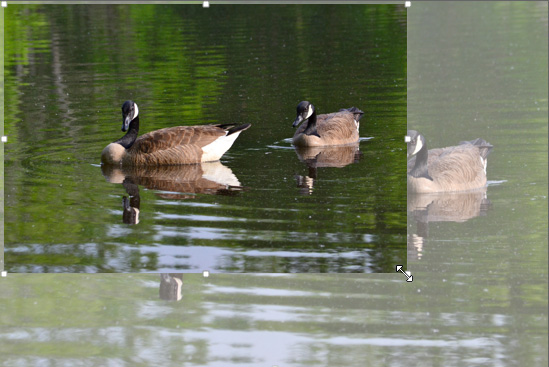
Remember, you should avoid making images larger than their original size. When you do this, the image simply won’t have enough detail to look good at the larger size. As you can see in the example below, the resized image is blurry and doesn’t have a lot of detail:
To resize an image:
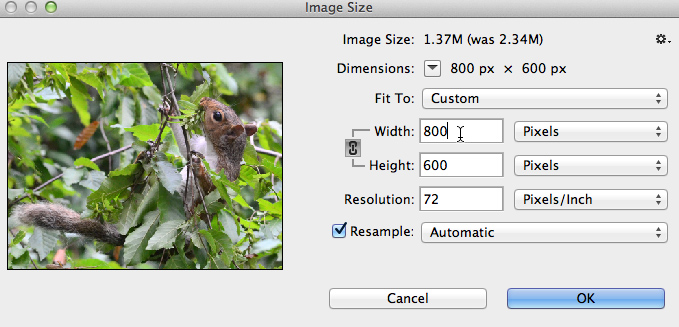
- With the image open in Pixlr Express, click the Adjustment button, then click Resize.
- Enter the desired dimensions for the new image. When you enter the new image width, the height will be adjusted automatically to maintain the original aspect ratio of the image (we’ll discuss this point in more detail below).
- Click Apply. The image will be resized.
- If desired, click the Save button to save this new version of the image.
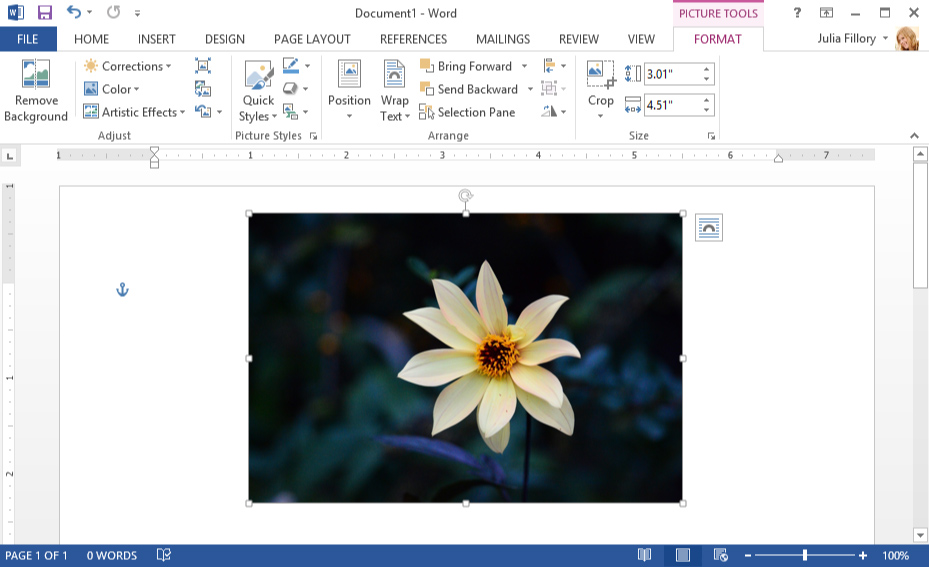
- Some programs, such as Microsoft PowerPoint, require you to click and drag sizing handles until the image is the desired size.
Preserving aspect ratio when resizing
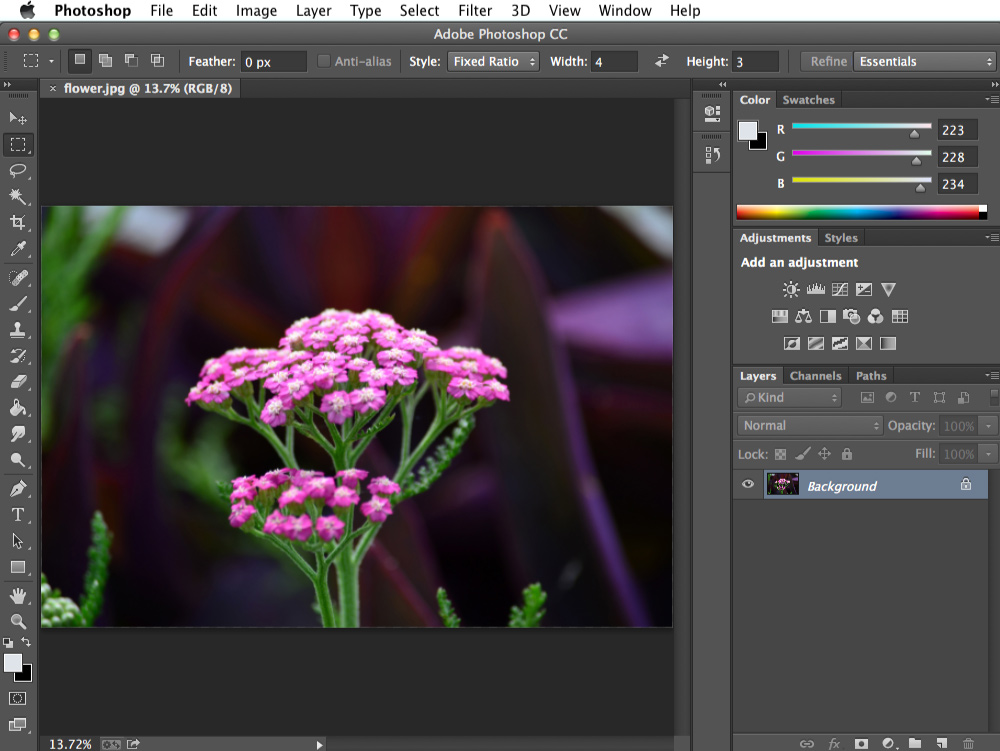
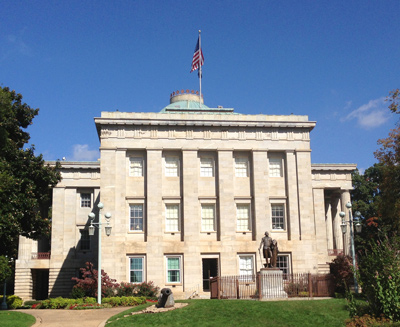
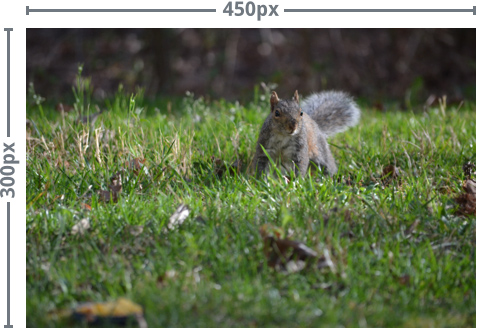
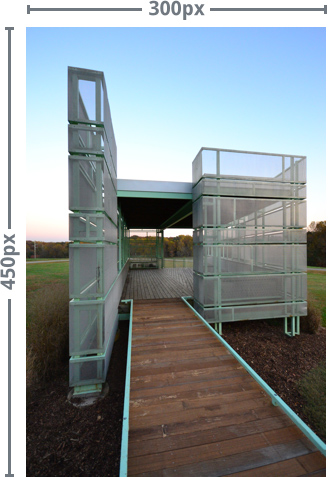
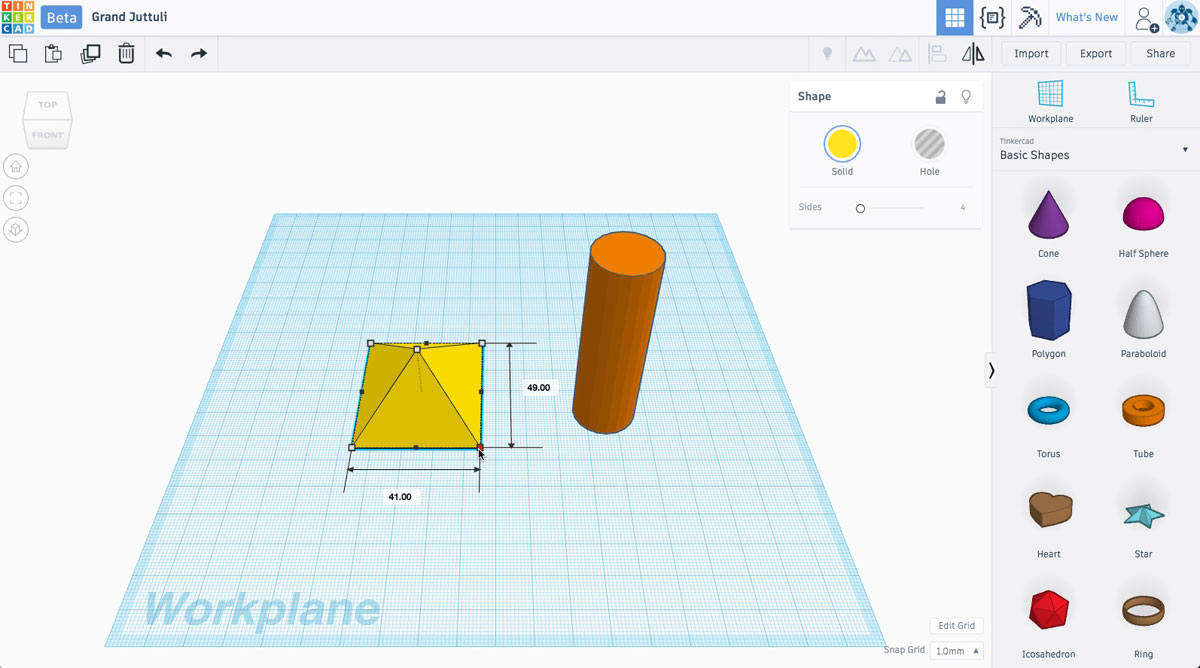
When you resize an image, it’s important to make sure the new version uses the same proportions, or aspect ratio, as the original. For example, take a look at this image:
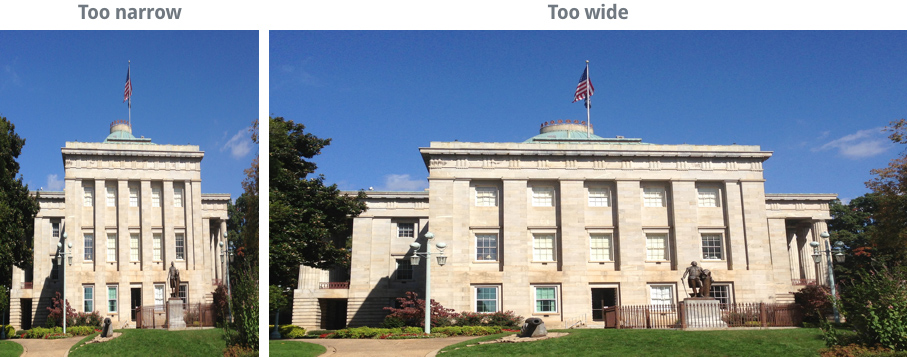
If you want to resize this image while maintaining the same aspect ratio, you will need to change both the height and width by equal proportions. Most image editing programs can do this automatically when you resize an image. However, if you just try to guess what proportions to use, or if you’re using sizing handles, it’s easy for an image to become distorted. A distorted image may look too wideor too narrow, as in the examples below:
While it may not always be this obvious, these examples illustrate why it’s so important to preserve the original aspect ratio when resizing an image. There are a few easy ways to make sure a resized image will use the same aspect ratio as the original:
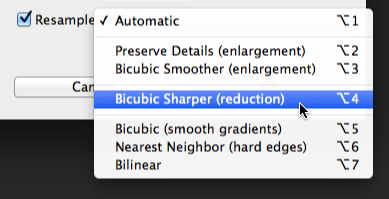
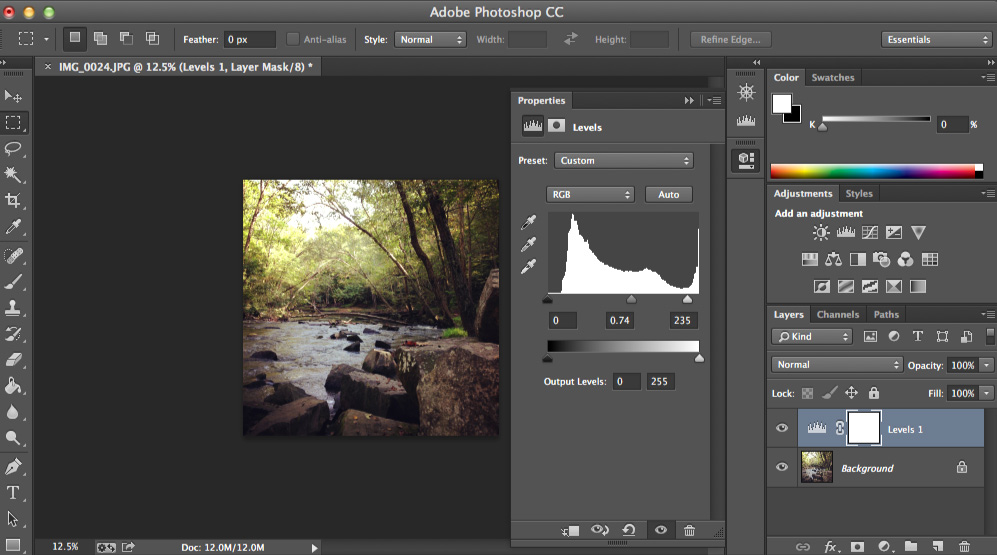
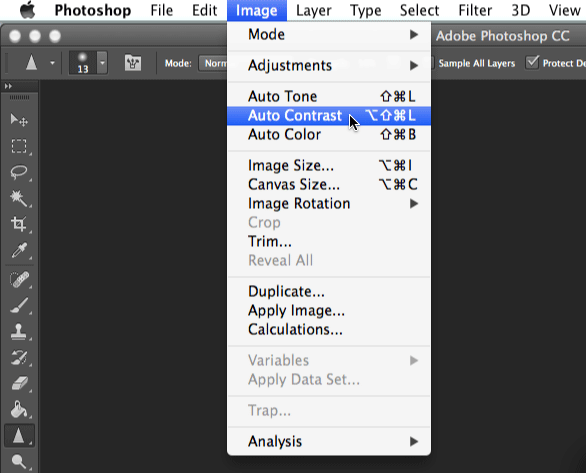
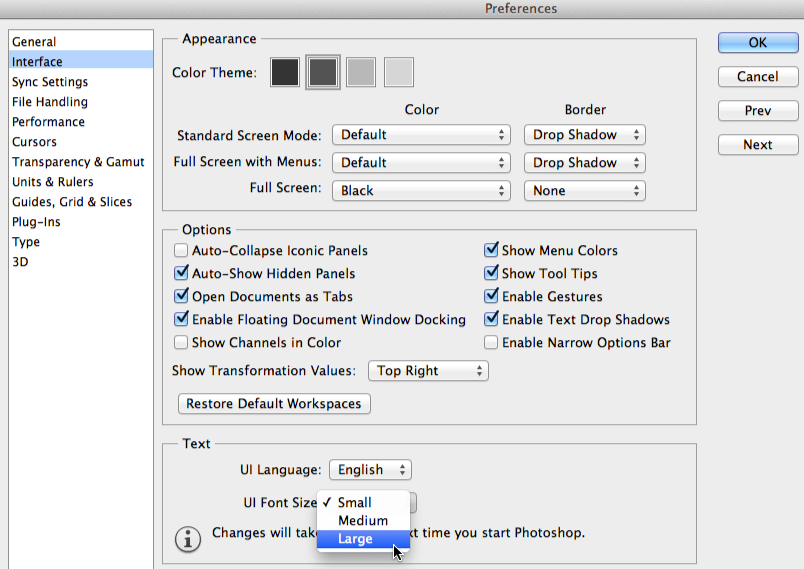
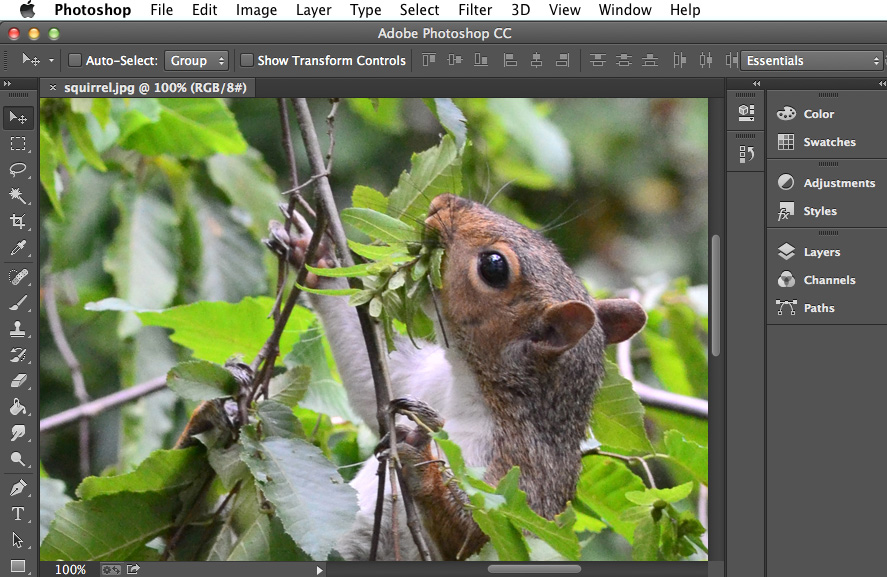
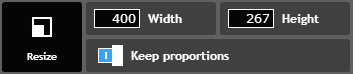
- Most applications will give you the option to preserve the aspect ratio when resizing. In Pixlr, this option is called Keep Proportions, but in other applications it may be called Constrain Proportions or Maintain Aspect Ratio. In some programs, like Photoshop, it is represented by a lock icon. Make sure this option is turned on before resizing an image. Then, you should only need to adjust the height or the width; the other dimension will be adjusted automatically.
- If you’re using sizing handles to resize an image, be sure to use a corner sizing handle rather than a side handle. Some applications also require you to press and hold a key on your keyboard, such as Shift or Alt, to lock the aspect ratio when using sizing handles.
- If you need to fit an image to a new aspect ratio—for example, if you need to print a 4″ × 6″ version of a square image—it’s best to crop the image to the new aspect ratio. Simply resizing the image to match the new aspect ratio will result in image distortion.
Rotating images
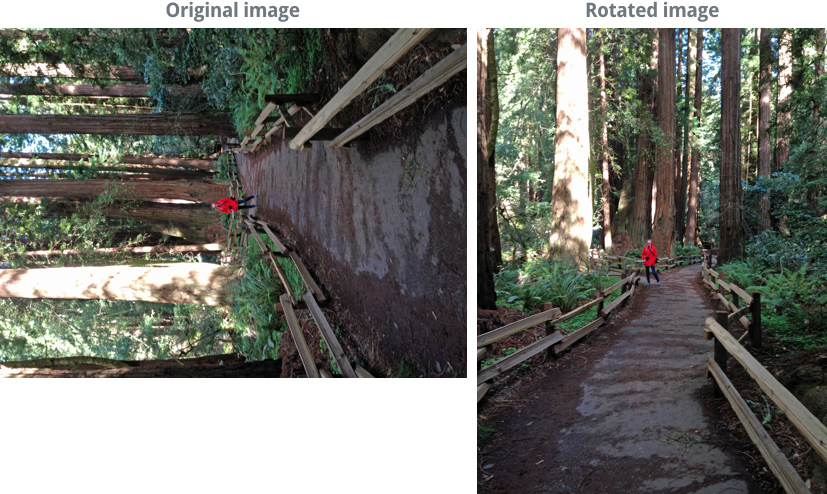
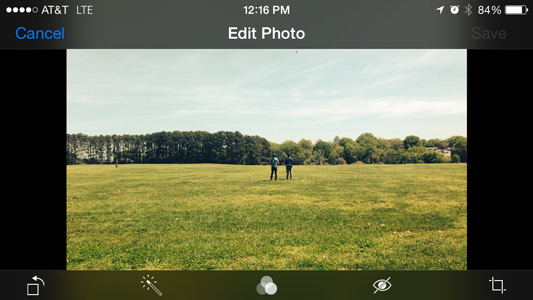
Sometimes an image may be rotated the wrong way. This can happen if the camera was turned on its side when taking the original image. It’s easy to fix this by rotating the image, as in the example below:
To rotate an image:
- With the image open in Pixlr Express, click the Adjustment button, then click Rotate.
- Choose the desired rotation direction. In our example, we’ll rotate the image to the right. You can also use the Straighten tool if you need finer control over the rotation.
- Click Apply. The image will be rotated.
- If desired, click the Save button to save this new version of the image.
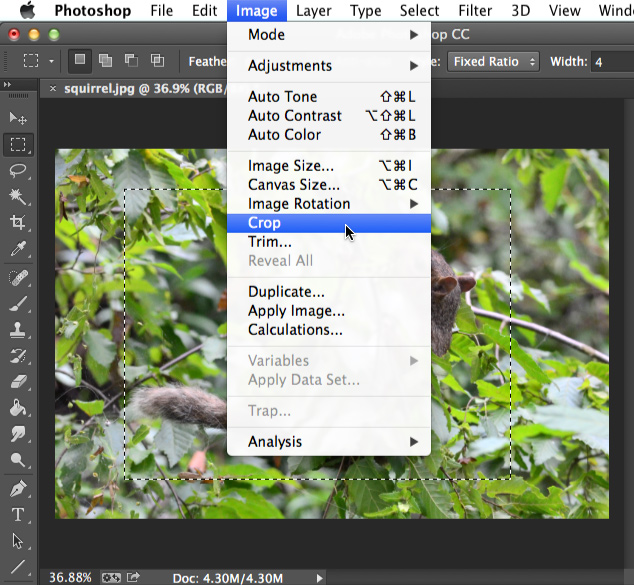
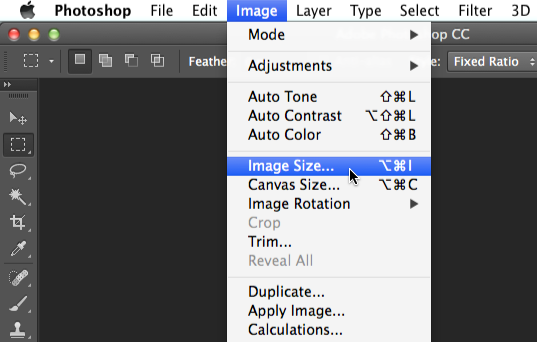
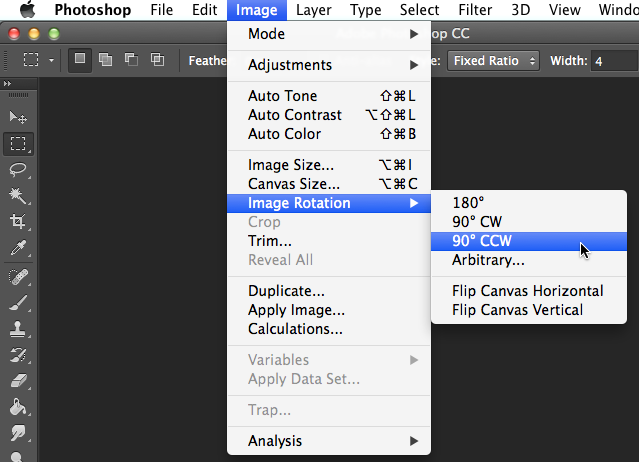
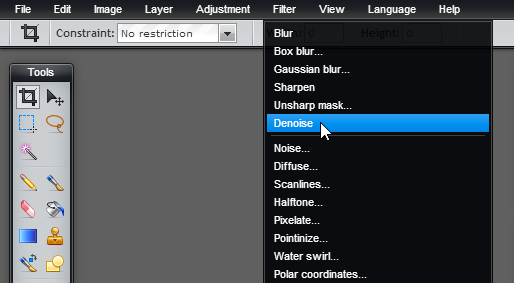
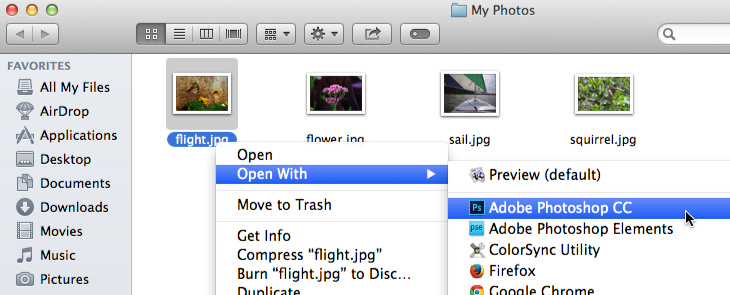
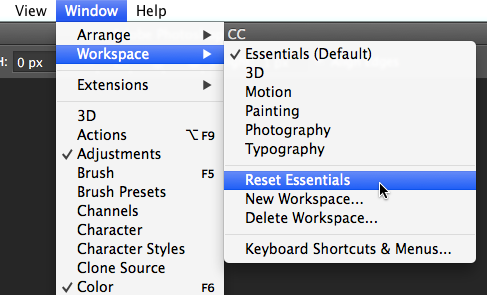
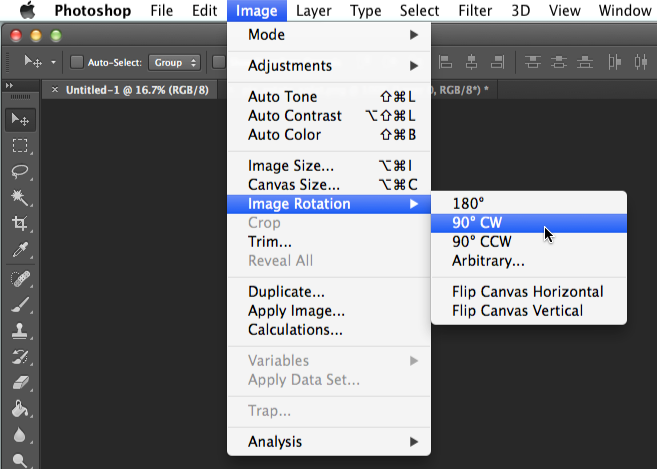
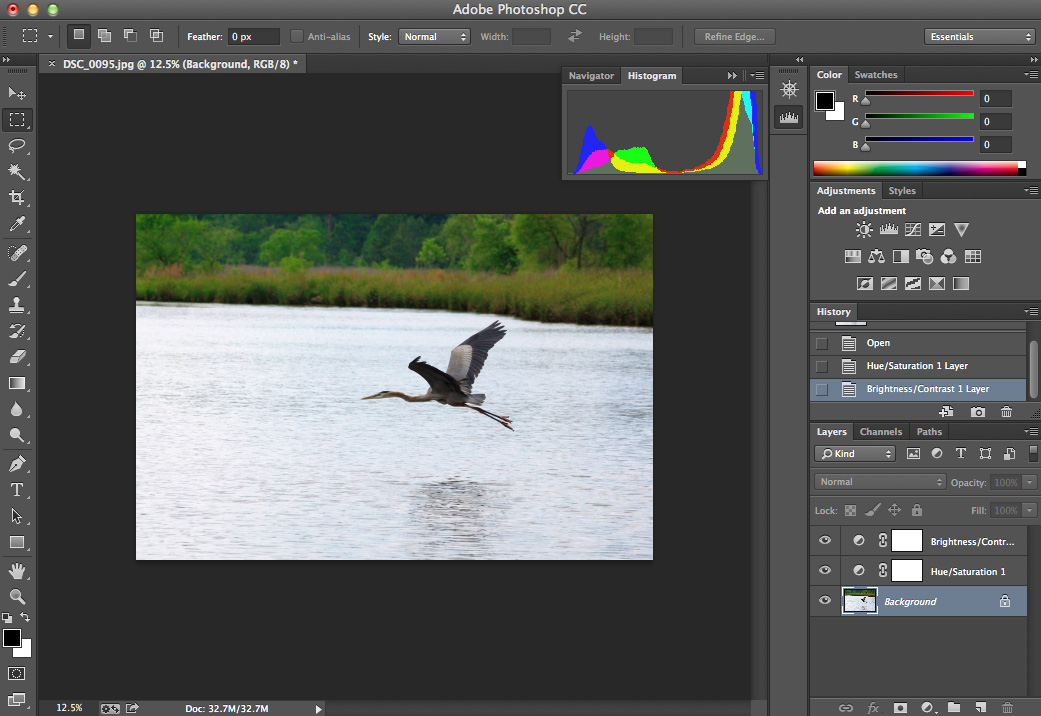
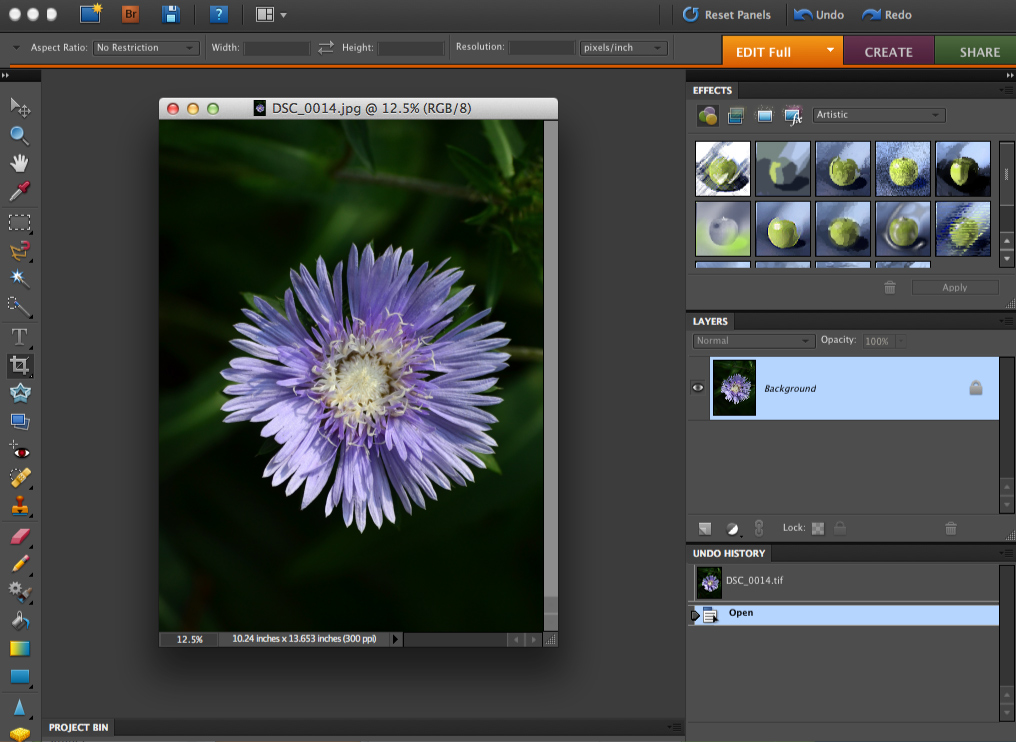
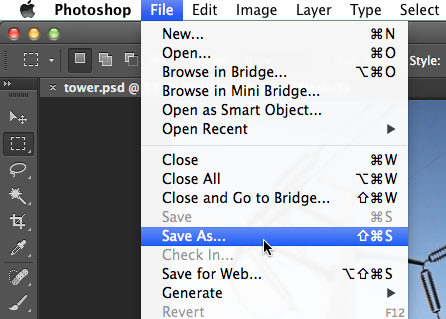
- In some programs, the Rotate tool will be a menu option. In Photoshop, for example, it can be found under Image.
- Image Rotation.
Other image adjustments
So far, we’ve covered some of the most basic image adjustments, including cropping, resizing, and rotating.
Challenge!
If you want to practice making the adjustments we cover in this lesson, you can download some or all of our example images. Just click any of the images below to open a full-sized version. Then right-click the full-sized version and select Save Image As to save it to your computer.
- Open an image in an image editing application, such as Pixlr Express.
- Use the crop tool to remove parts of an image. Try experimenting to see how different types of crops affect the image.
- Try resizing an image to be smallerthan its original size. You can turn Constrain Proportions on and off to see how this affects the aspect ratio.
- Try resizing an image to be larger than its original size. Notice how the image suffers a loss in quality and detail.
- Use the rotate tool to rotate an image.
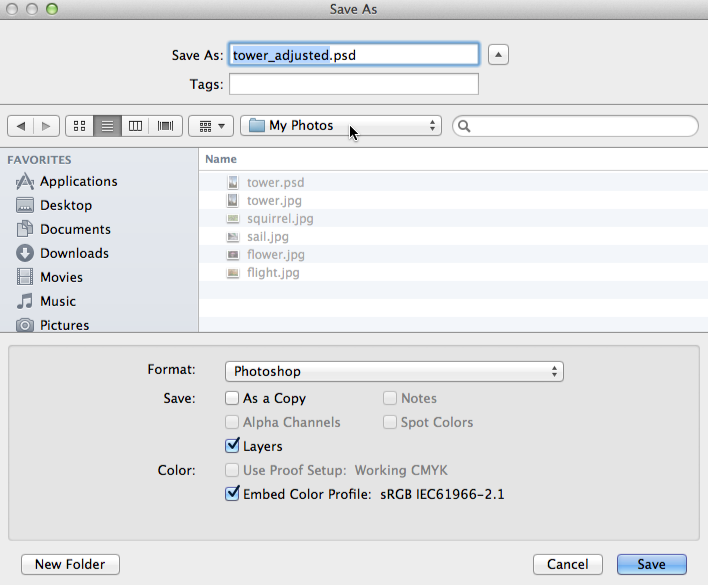
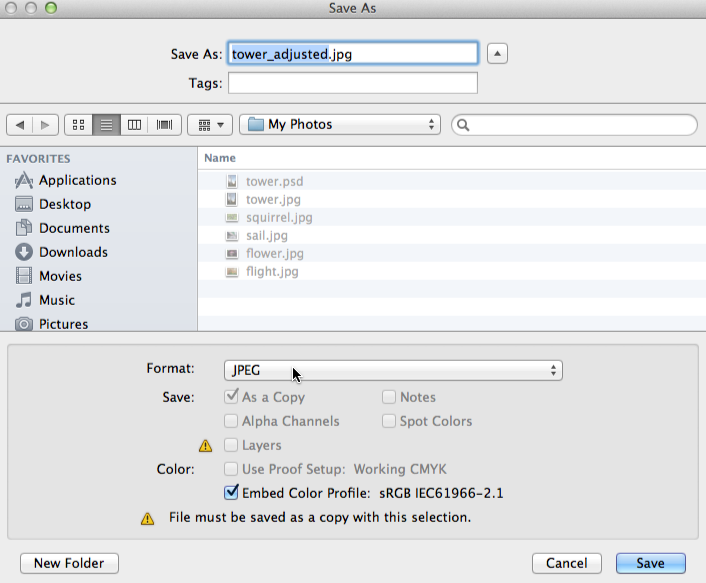
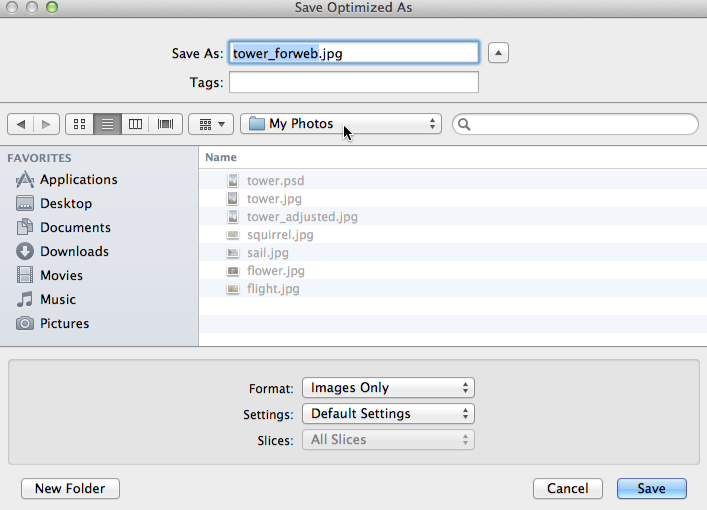
- Save a copy of the edited image if desired. You’ll want to choose a new file name to avoid accidentally overwriting the original version.


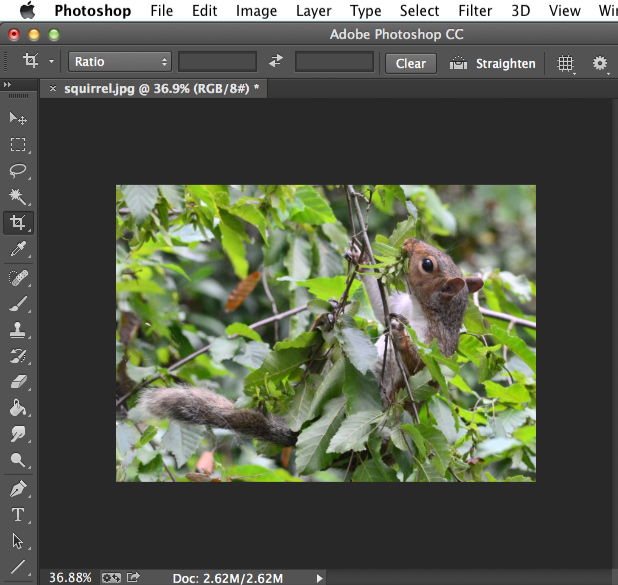


 Crop. The image will be cropped.